Creating a Simple Counter in Framer Using Code Overrides
Framer’s power shines when you combine design with code. If you want your prototypes to do more than just look good, you need to control their behavior programmatically.
In this tutorial, we’ll start with a simple but essential technique: how to change a component’s variant using code overrides. This is the foundation that will let us build more dynamic interactions.
Once you’ve mastered variants, we’ll move on to the main goal, creating a simple counter that updates on click. Step by step, you’ll learn how to connect React state to your Framer components and make them truly interactive.
Let’s dive in.
Table of Contents
- Variants and Code Overrides: How to Change Framer Component Variants programmatically
- Creating the Counter Component (with Code Overrides)
Variants and Code Overrides: How to Change Framer Component Variants programmatically
First, I’m going to show you how to change the variant of a button component when you click on it using code overrides. This simple example will lay the groundwork for more advanced interactions later.
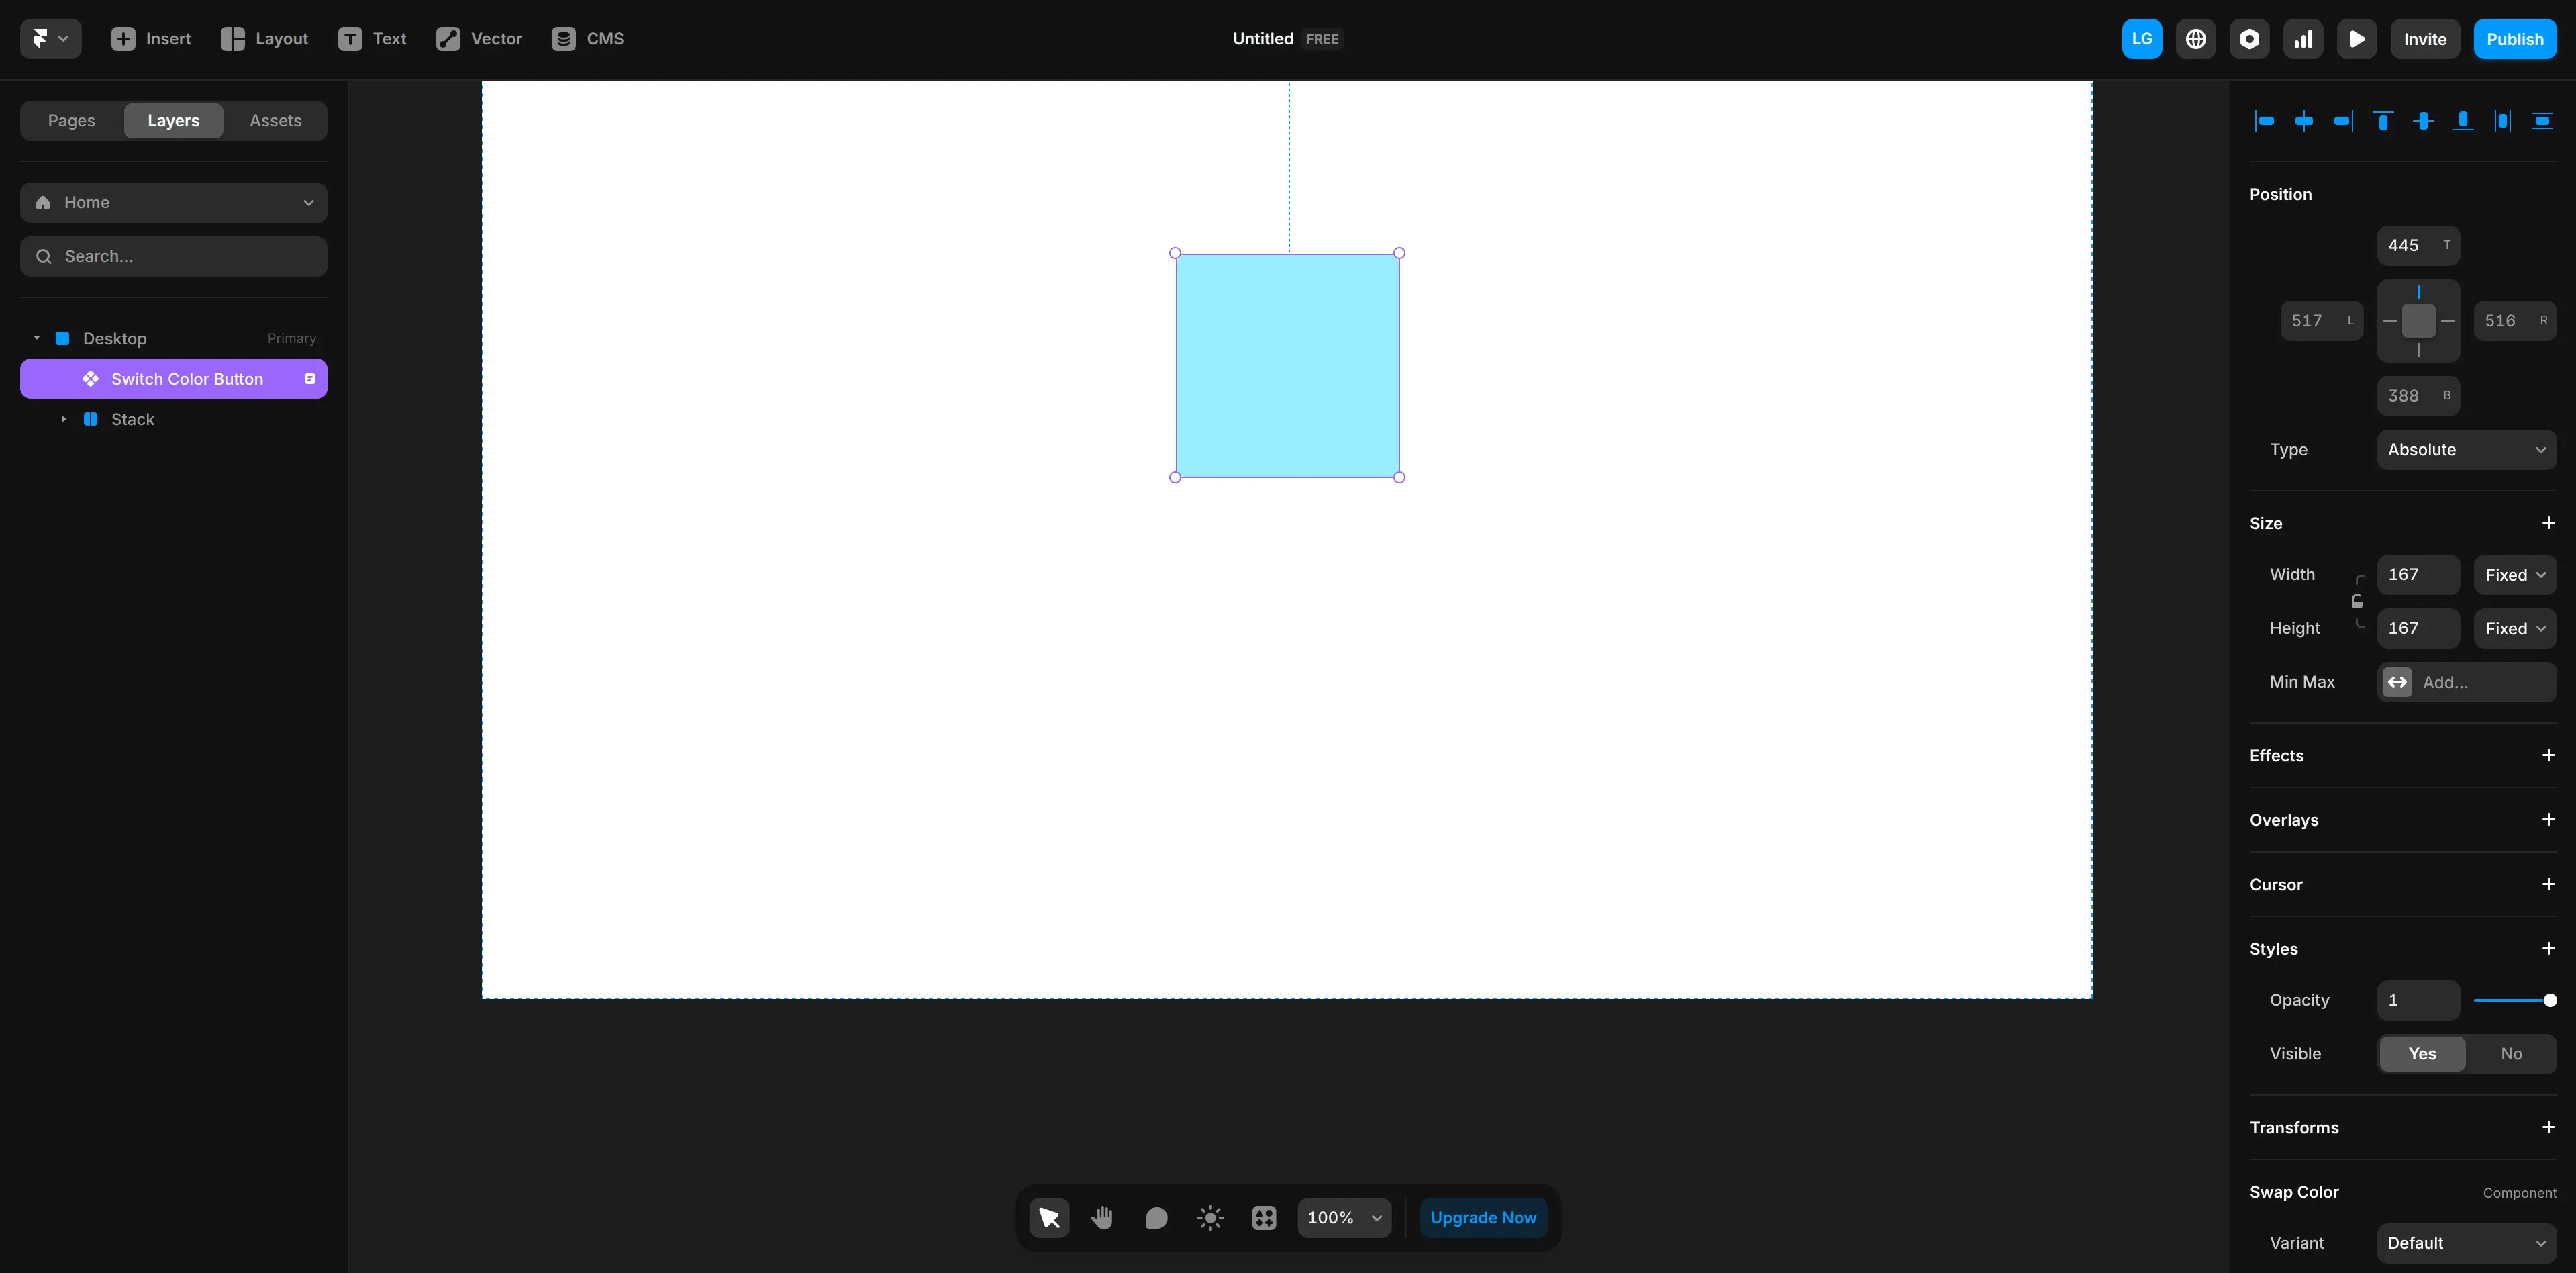
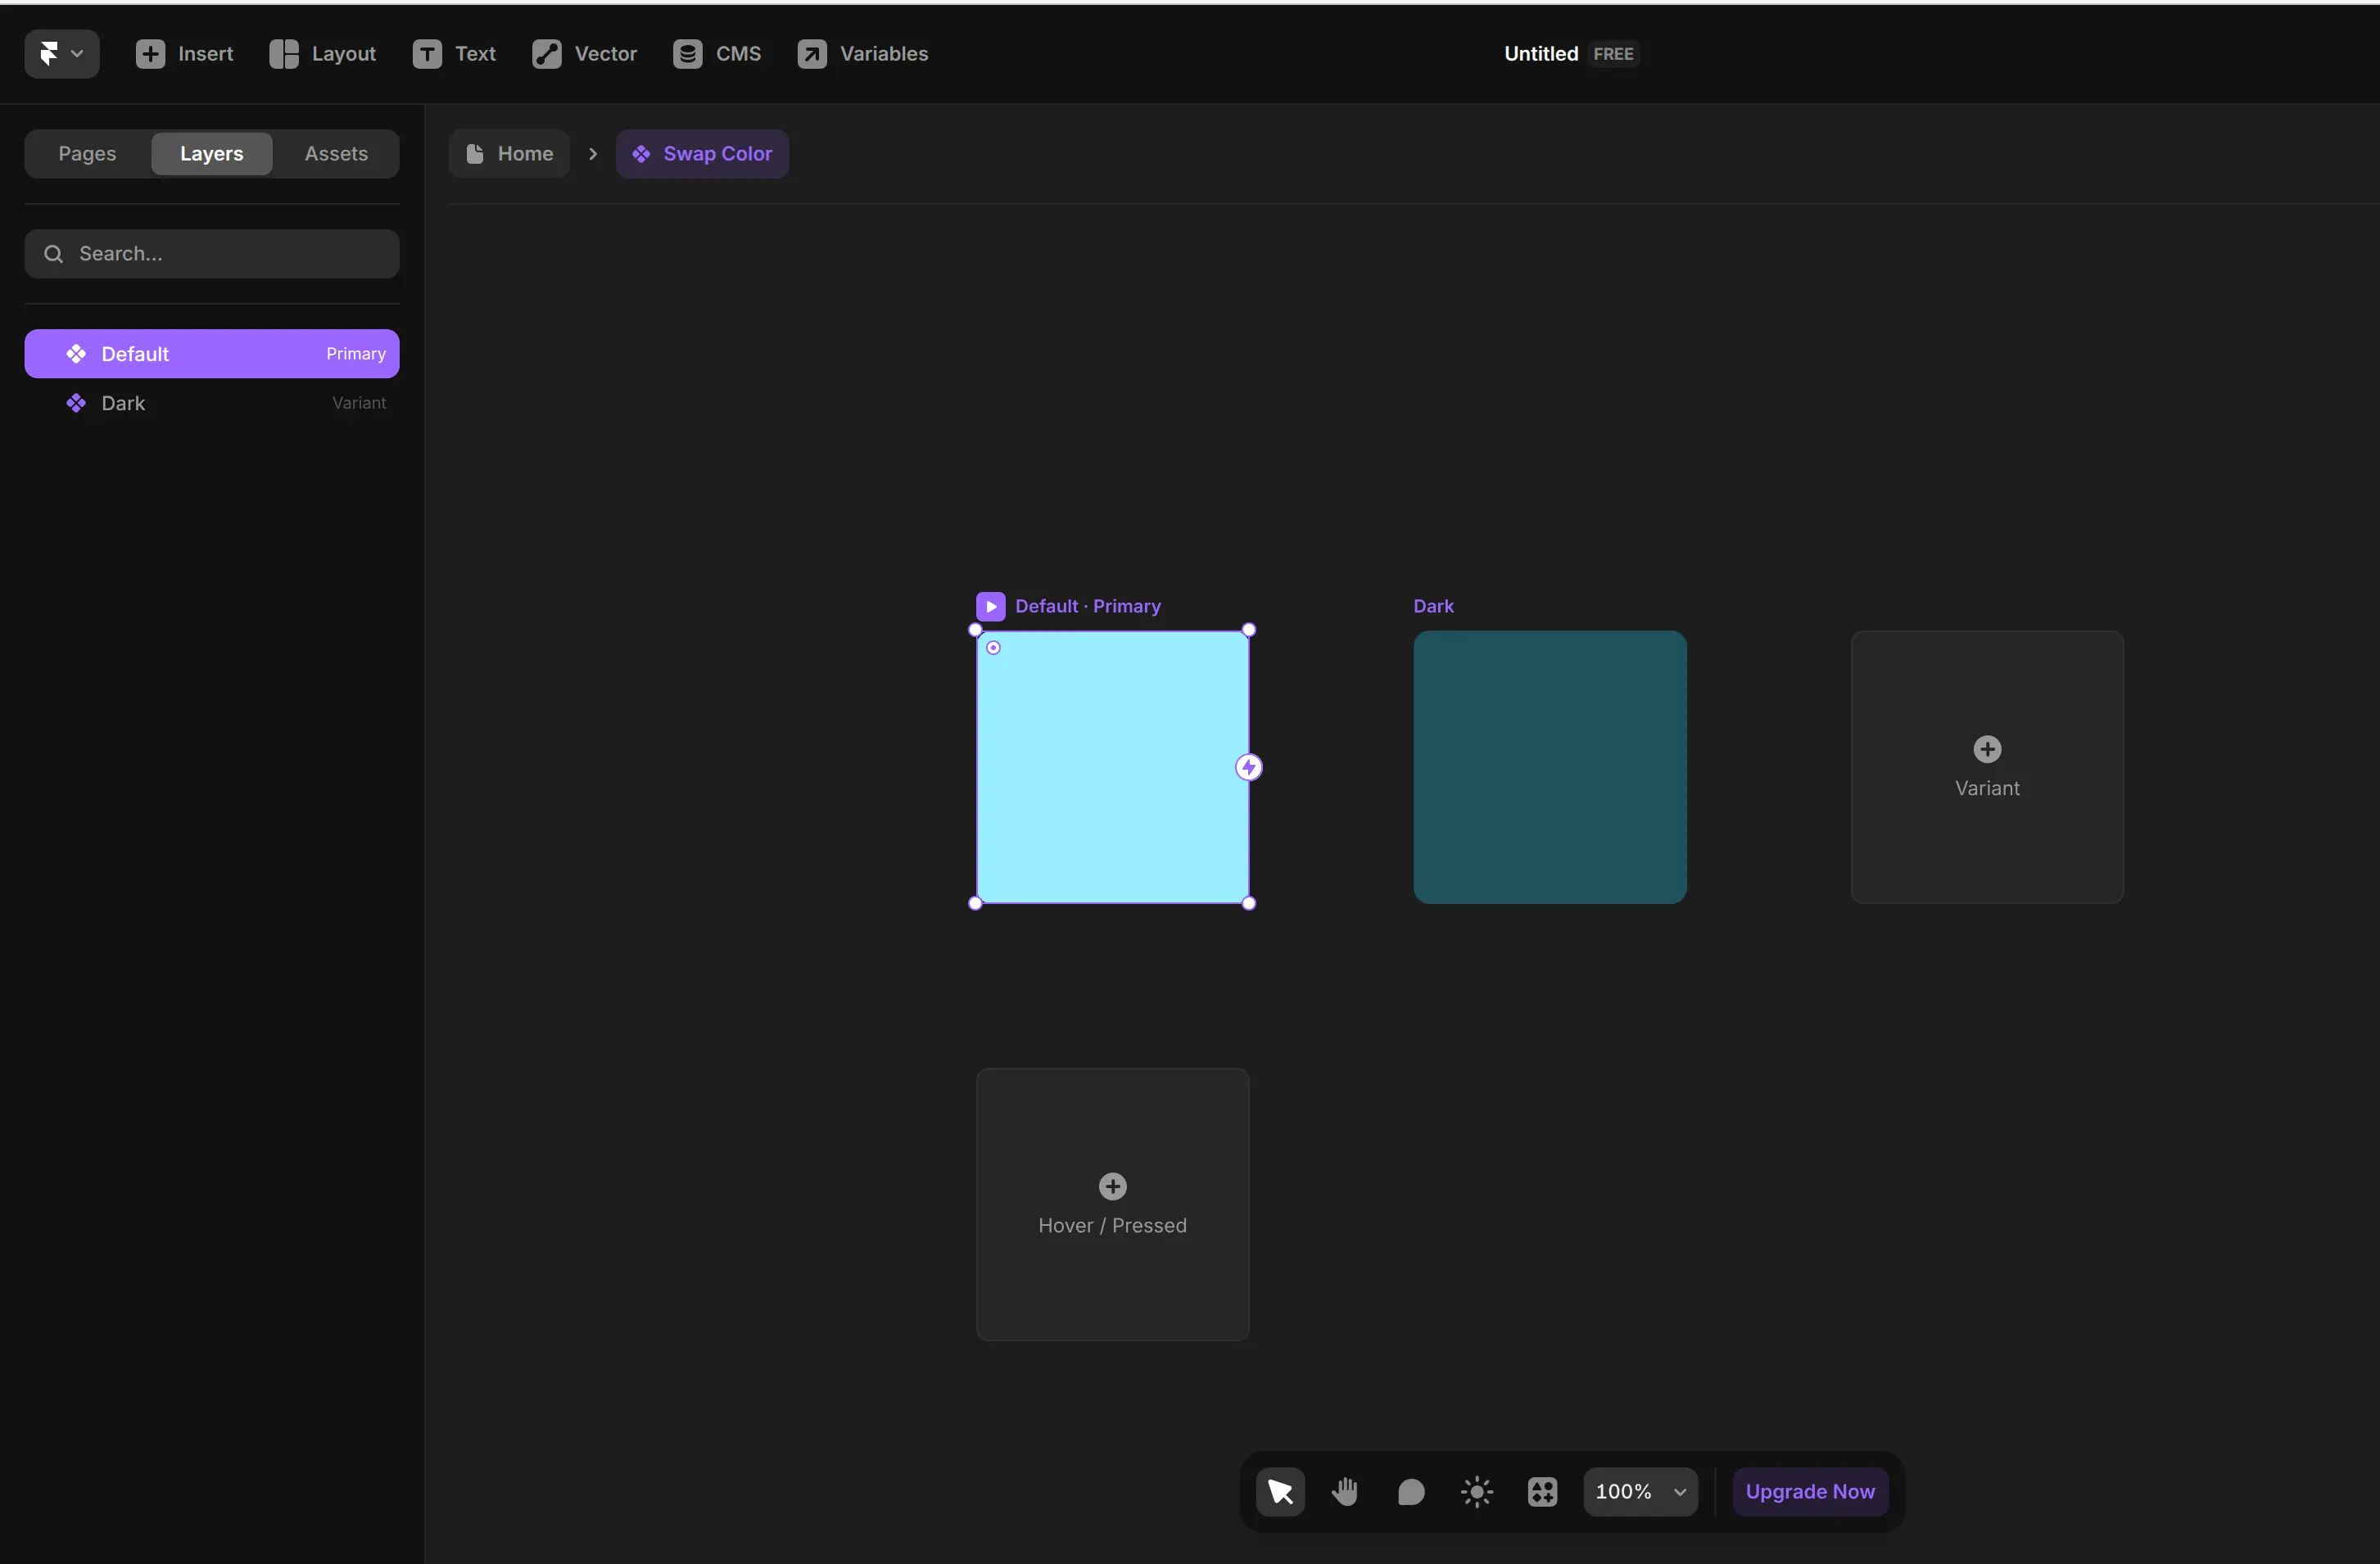
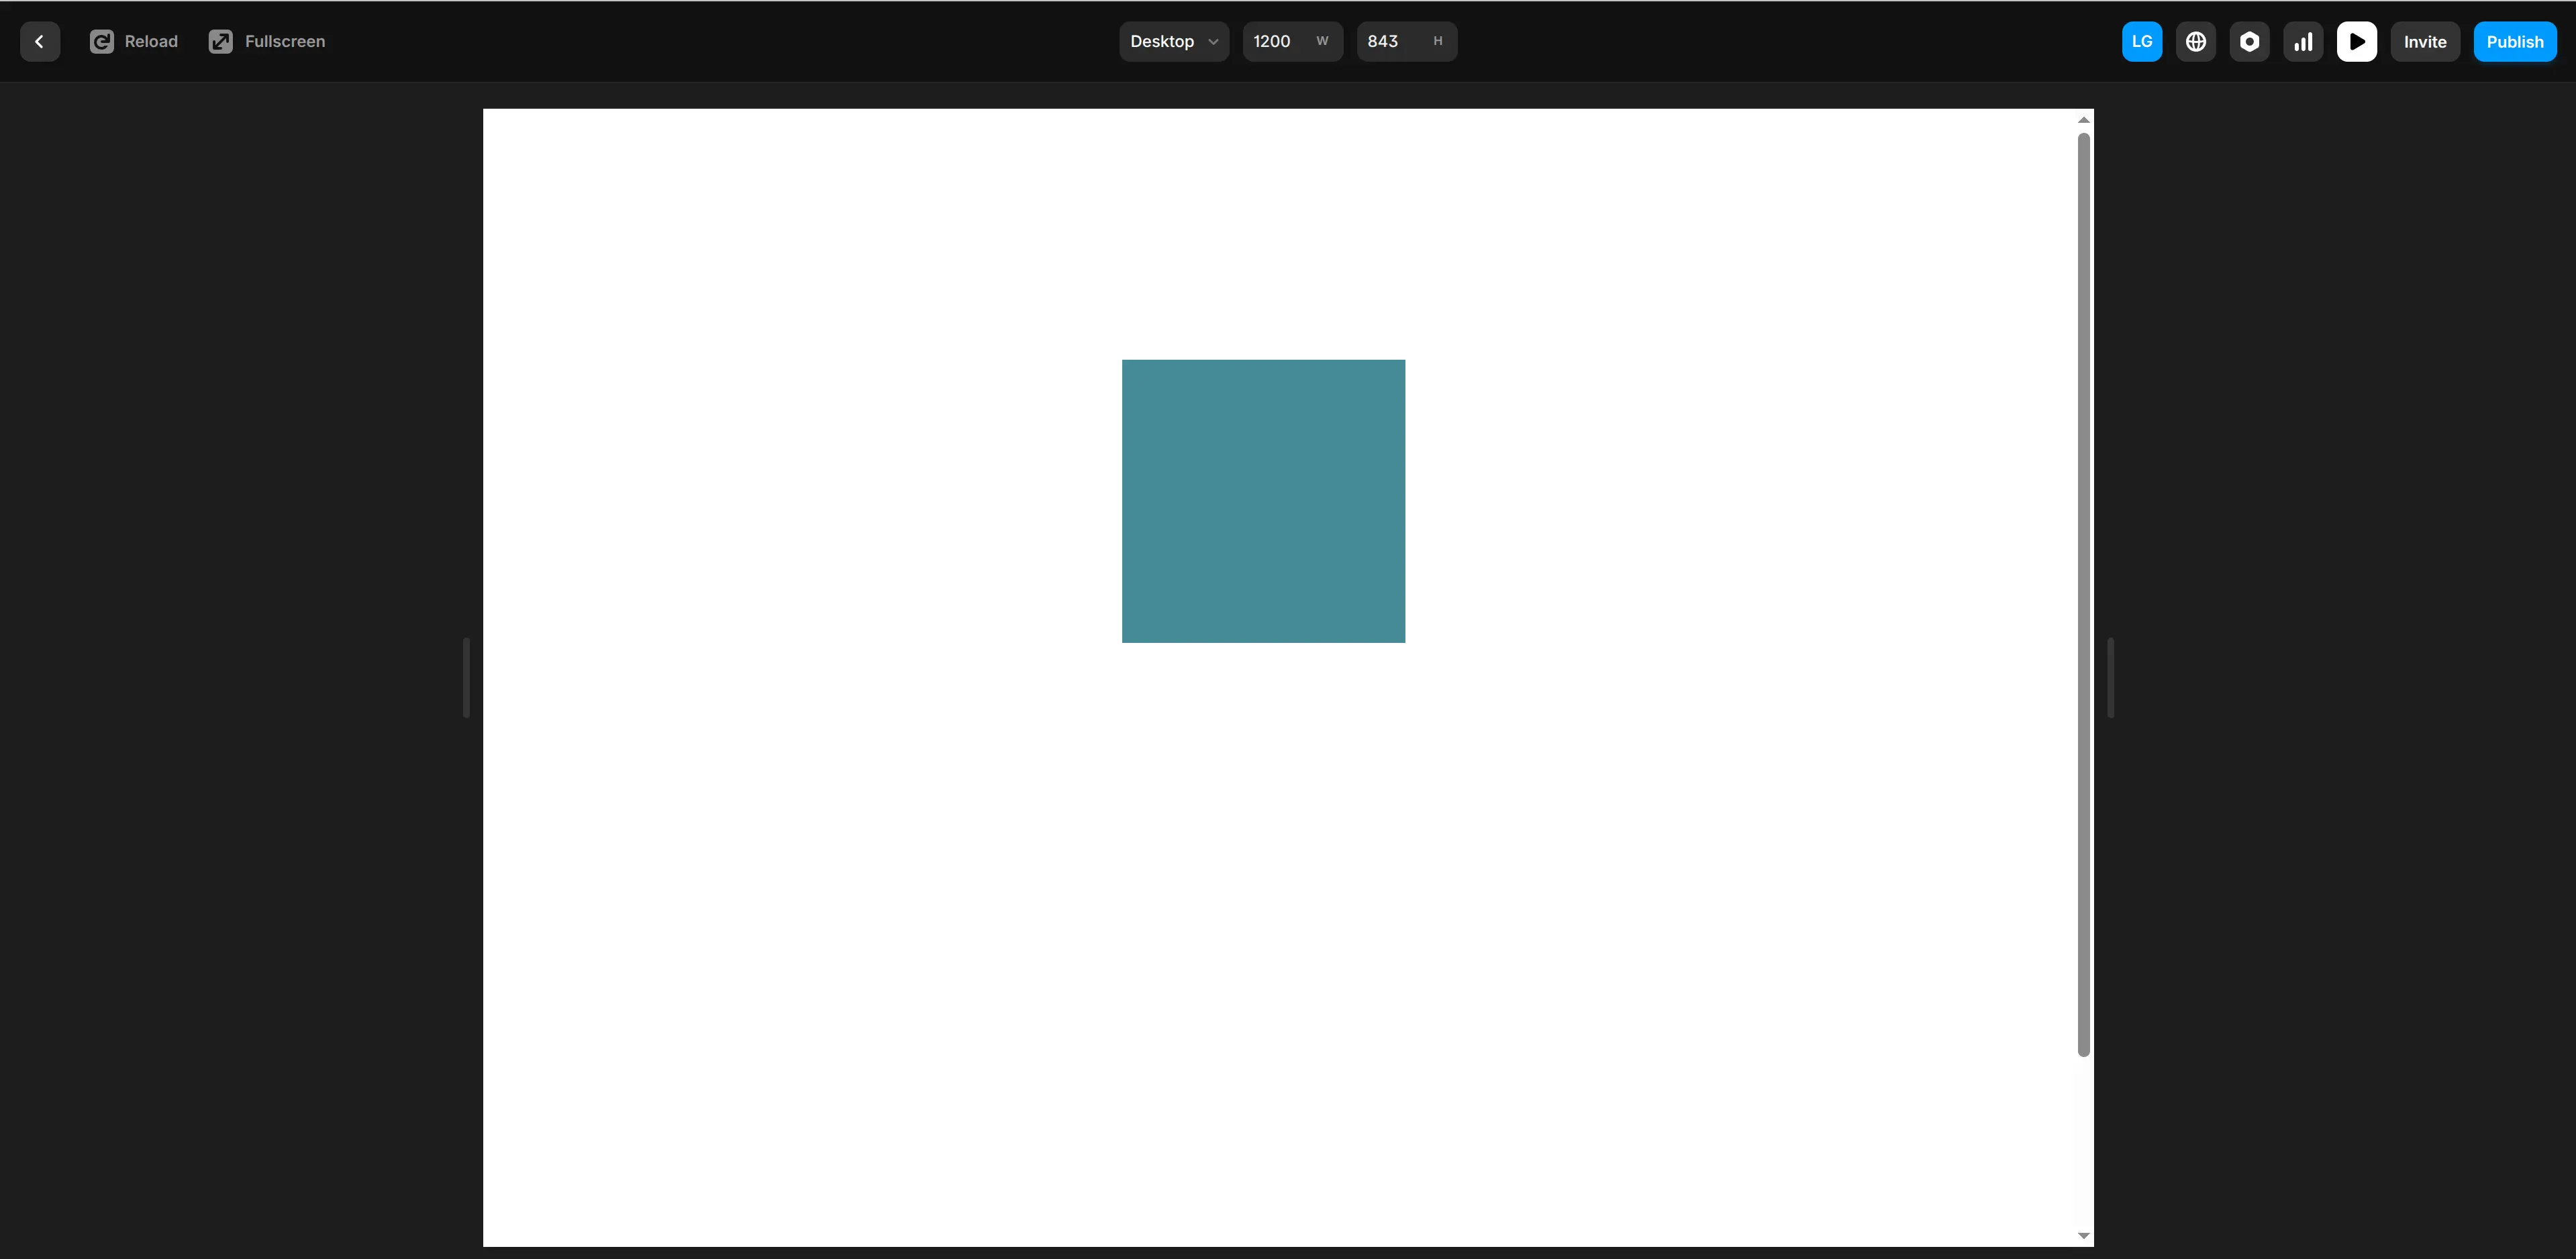
Start by creating a simple sky blue frame anywhere on your canvas. Once you’ve got it, select the frame and press Ctrl + Alt + K to convert it into a component. This will let you add variants and control it with code overrides.
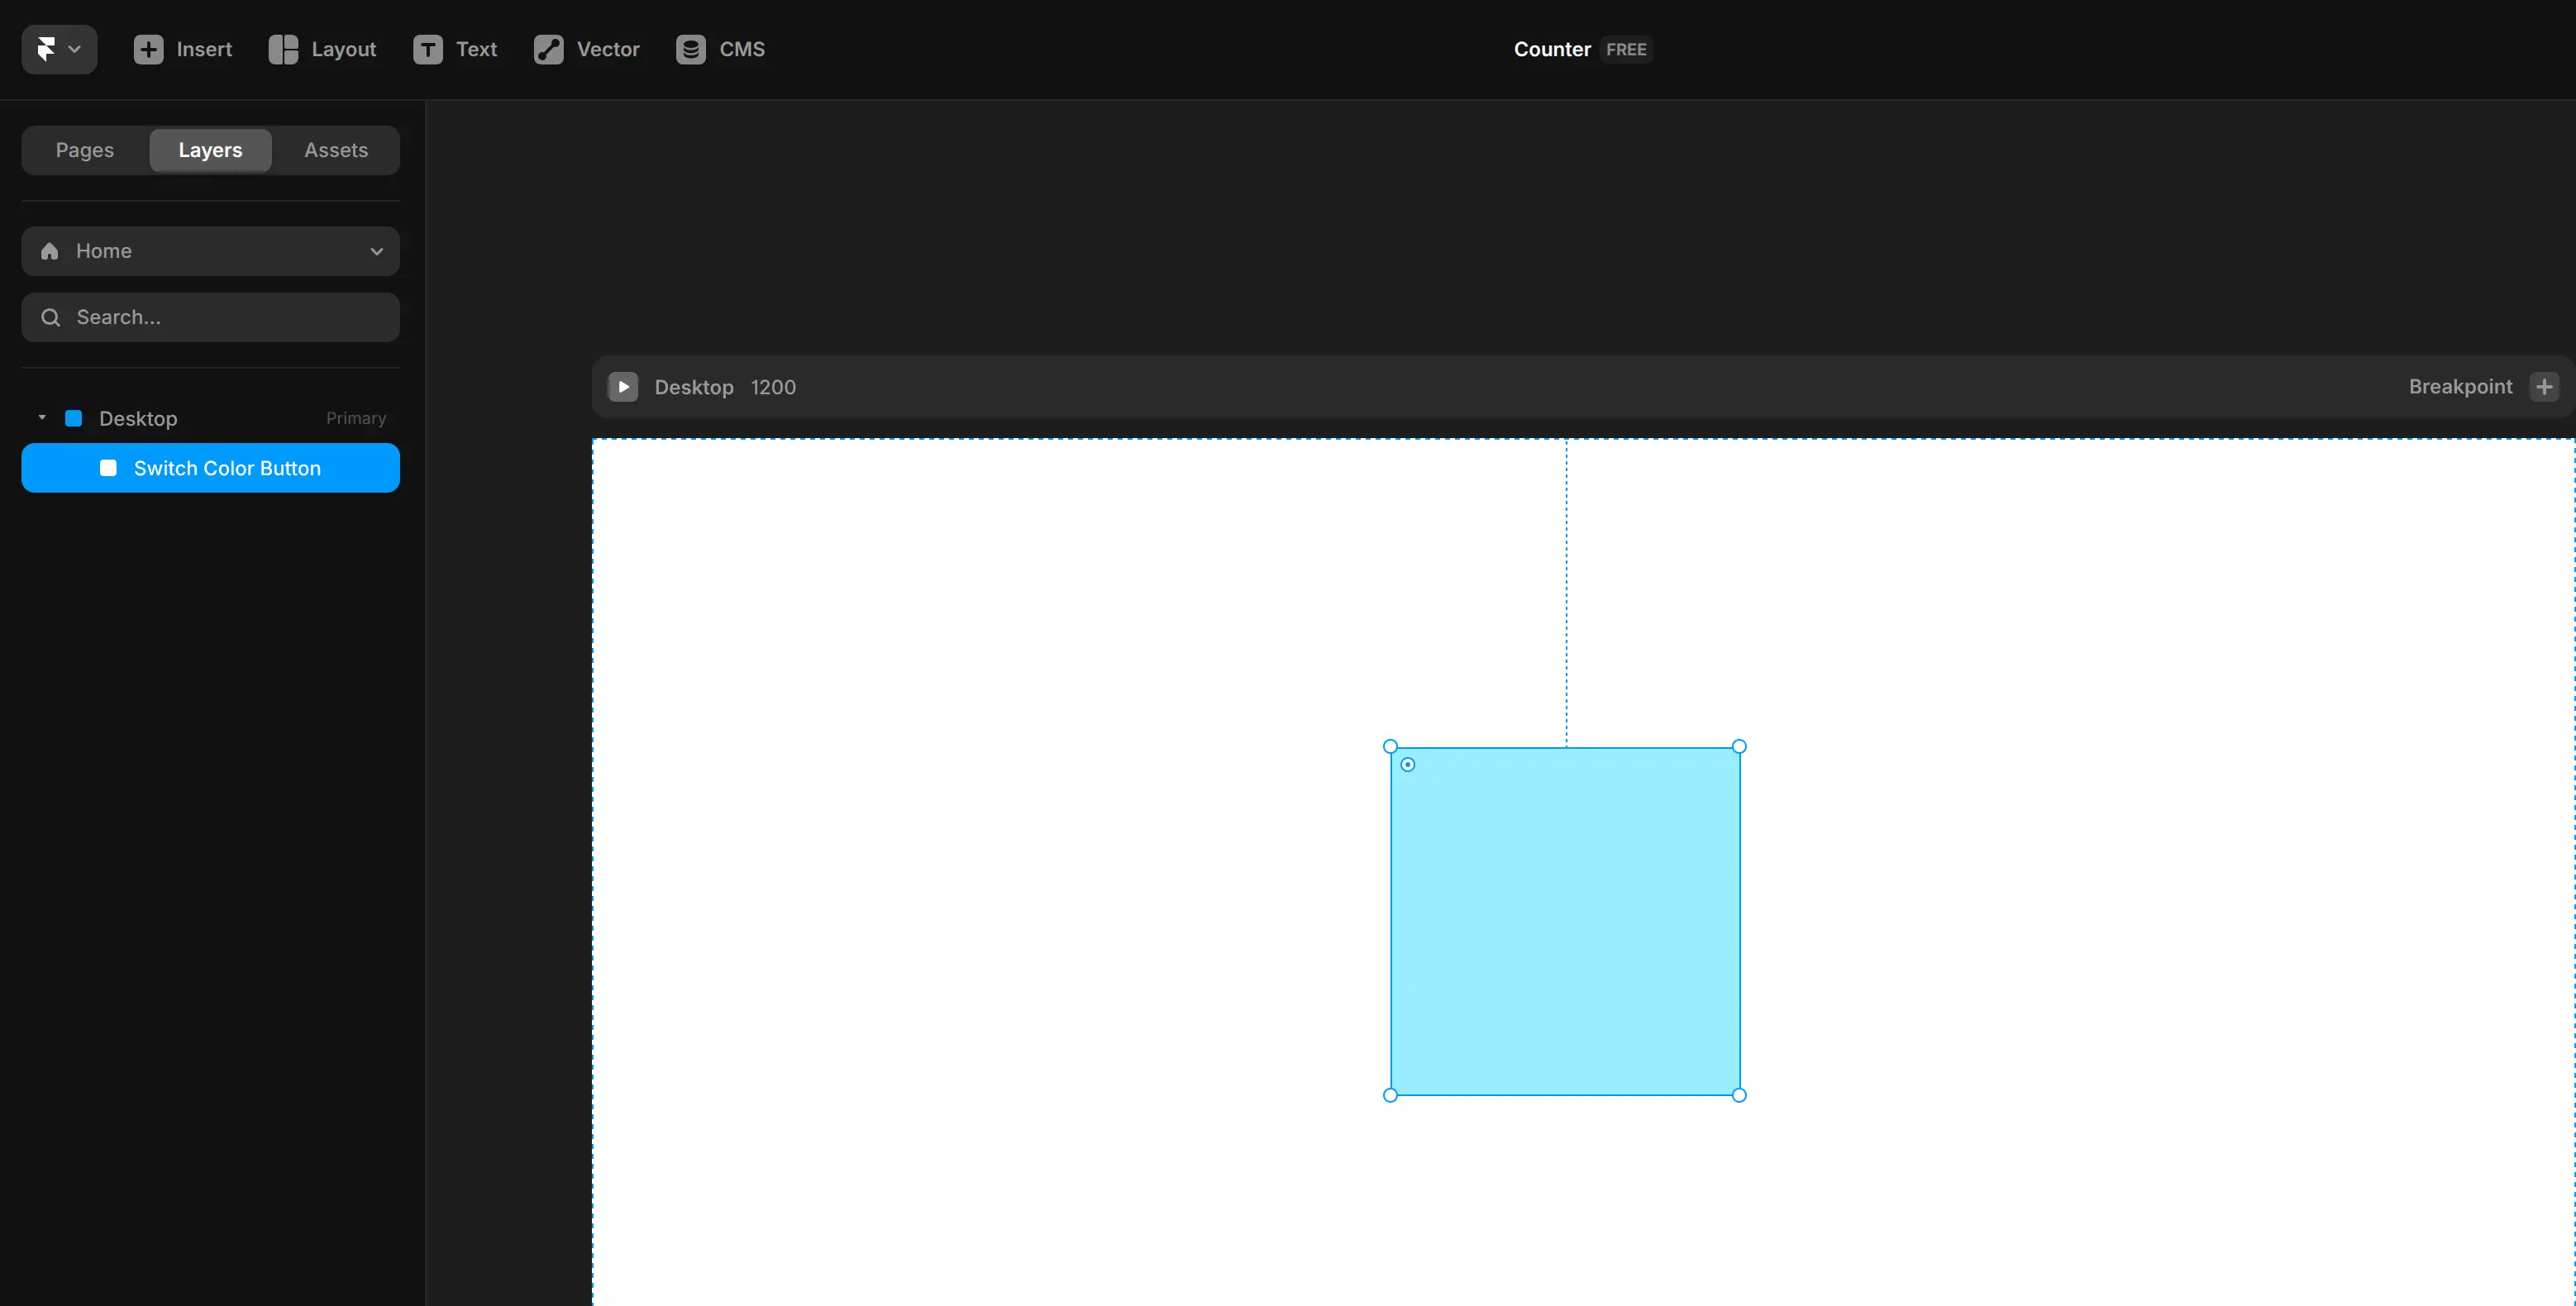
Here you can see the layers
Rename the first variant to “Default” and create a second variant with a darker color, name it “Dark”
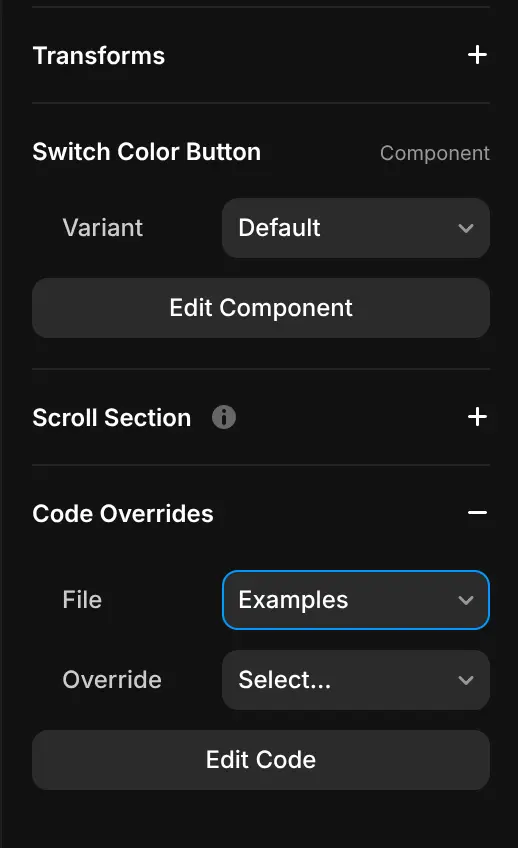
Now go back to Home, select the button and click on code overrides, select Files: Exmaples
This will create an Examples.tsx file in the Assets menu
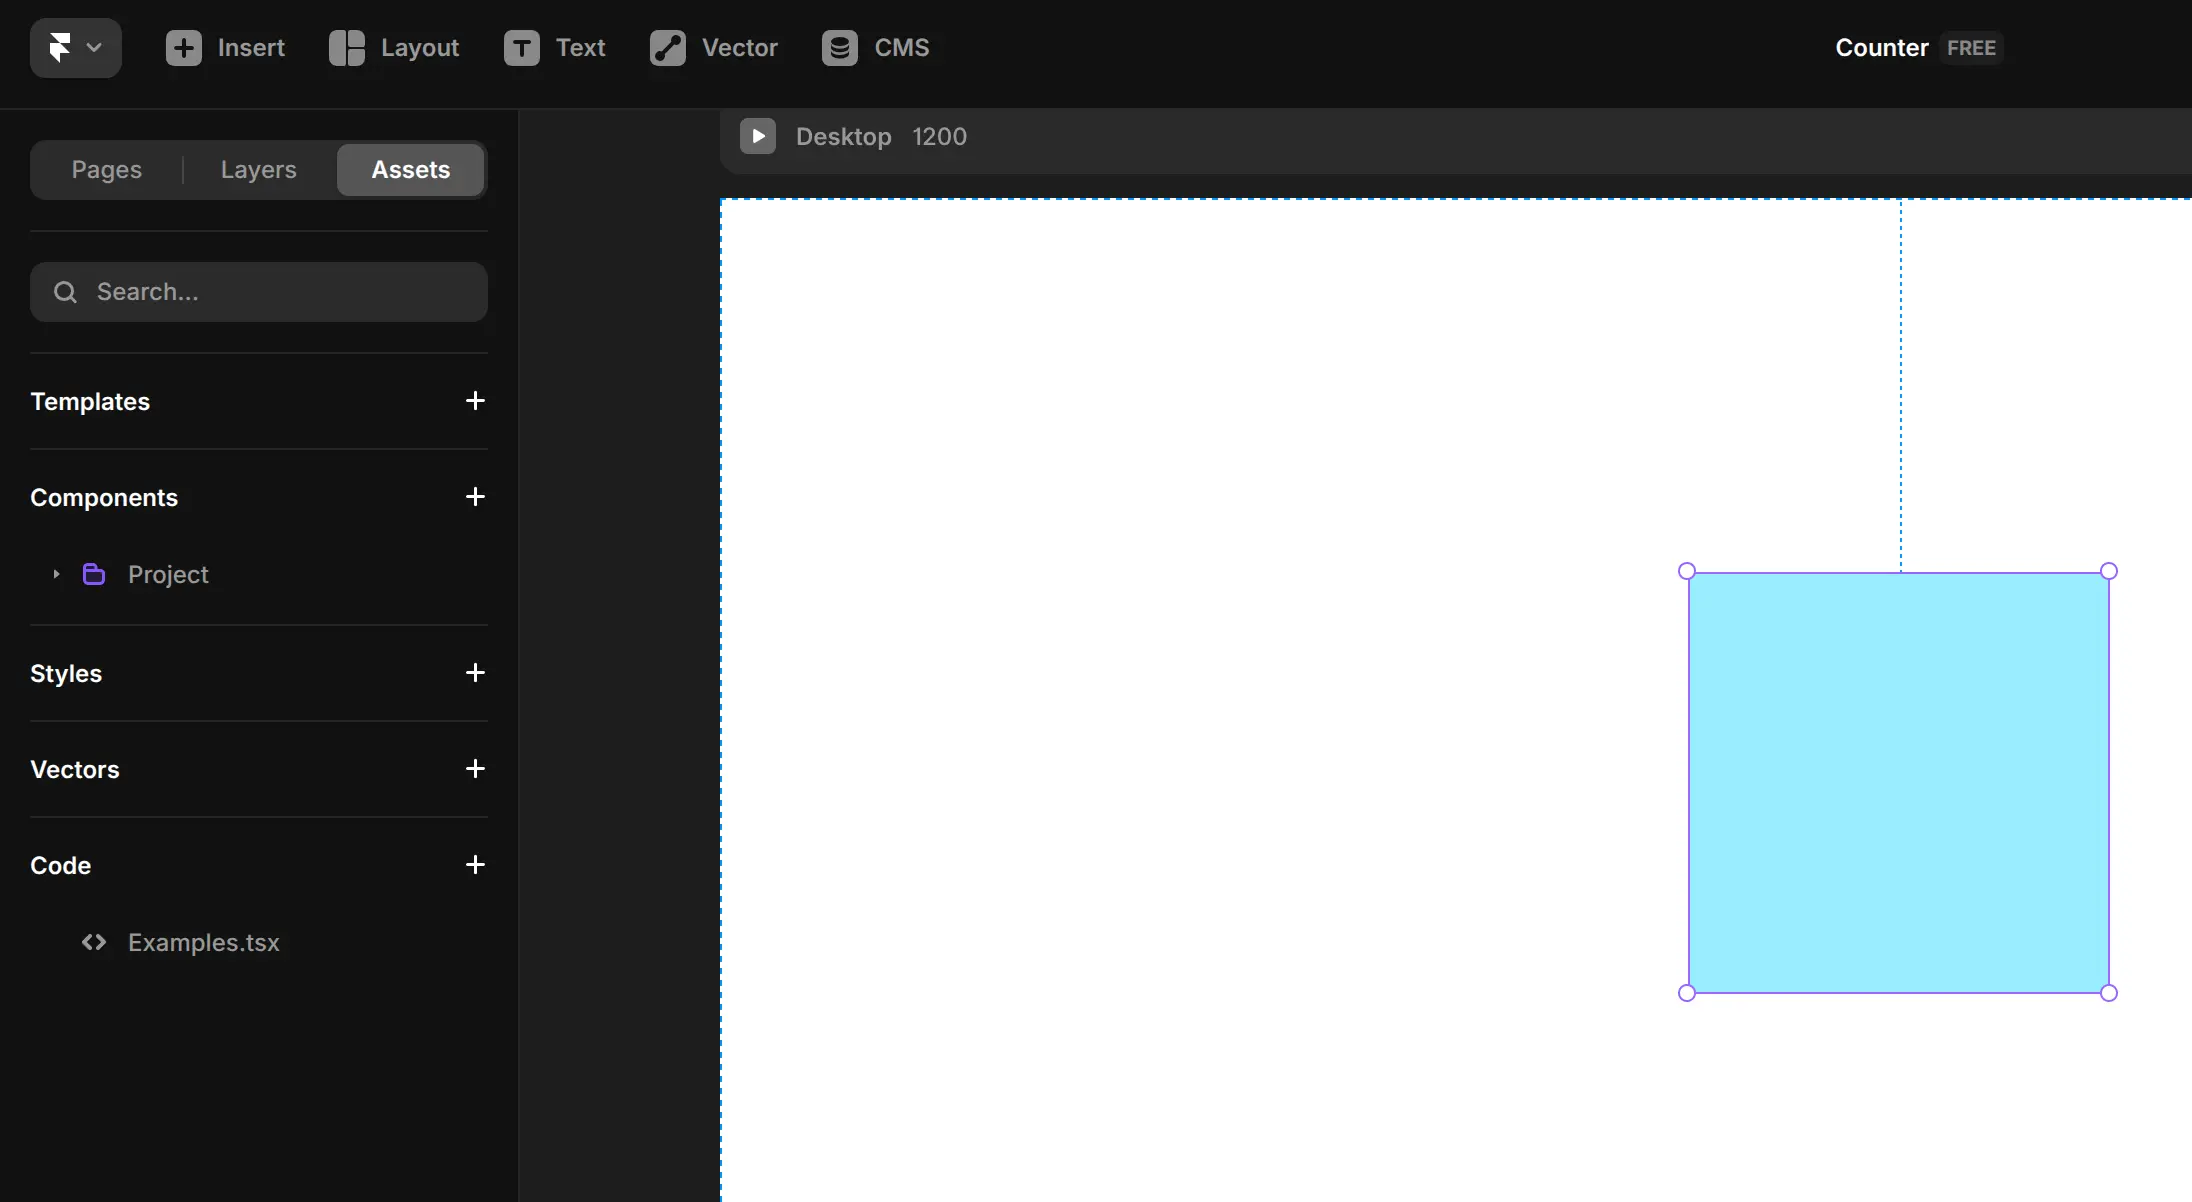
Let’s open Examples.tsx
We get a bunch of default code
import { forwardRef, type ComponentType } from "react"
import { createStore } from "https://framer.com/m/framer/store.js@^1.0.0"
import { randomColor } from "https://framer.com/m/framer/utils.js@^0.9.0"
// Learn more: https://www.framer.com/developers/overrides/
const useStore = createStore({
background: "#0099FF",
})
export function withRotate(Component): ComponentType {
return forwardRef((props, ref) => {
return (
<Component
ref={ref}
{...props}
animate={{ rotate: 90 }}
transition={{ duration: 2 }}
/>
)
})
}
export function withHover(Component): ComponentType {
return forwardRef((props, ref) => {
return <Component ref={ref} {...props} whileHover={{ scale: 1.05 }} />
})
}
export function withRandomColor(Component): ComponentType {
return forwardRef((props, ref) => {
const [store, setStore] = useStore()
return (
<Component
ref={ref}
{...props}
animate={{
background: store.background,
}}
onClick={() => {
setStore({ background: randomColor() })
}}
/>
)
})
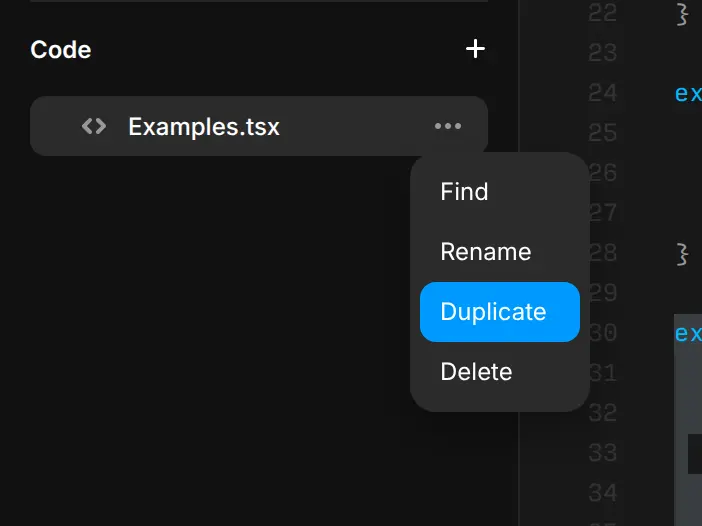
}Now let’s make a copy of Example.tsx and rename it VariantSwitch.tsx
And now open your new file.
We see that they are using useStore here:
const useStore = createStore({
 background: "#0099FF",
});
This creates a shared state store with an initial value for background. Think of it as a tiny global state container that multiple components or overrides can read from and update.
Using createStore and useStore lets you share state across your entire Framer project. When one component updates the background color, any other component using that same store will instantly reflect the change.
Typically, you place your store in a separate file, like useStore.ts when you want to make values available throughout your whole site.
But you can also define a store within a single file to share data between multiple functions or components locally.
In this case, though, we’re going to use React’s built-in useState instead of useStore.
Why? Because we don’t need to share state between multiple overrides or components here. The variant we’re switching is only relevant inside this single component.
Using useState keeps things simple and local. It lets us toggle the variant on click without affecting anything else in the app.
So for controlling a variant within just one override, useState is the better fit, lightweight and straightforward.
So now, let’s import useState and delete everything we are not going to need.
import { forwardRef, type ComponentType, useState } from "react"

export function withRotate(Component): ComponentType {
    return forwardRef((props, ref) => {
        return (
            <Component
                ref={ref}
                {...props}
                animate={{ rotate: 90 }}
                transition={{ duration: 2 }}
            />
        )
    })
}
Now I’m going to refactor the withRotate function, giving it a clearer name and tweaking its behavior to better fit our needs.
import { forwardRef, type ComponentType, useState } from "react"

export function withVariantSwitch(Component): ComponentType {
    return forwardRef((props, ref) => {
        const VALID_VARIANTS = ["Default", "Dark"]
        const DEFAULT_VARIANT = "Default"

        const [variant, setVariant] = useState(DEFAULT_VARIANT)

        const handleClick = () => {
            const next = variant === "Dark" ? "Default" : "Dark"

            if (VALID_VARIANTS.includes(next)) {
                setVariant(next)
            } else {
                alert(`Invalid variant: ${next}`)
                setVariant(DEFAULT_VARIANT)
            }
        }

        return (
            <Component
                ref={ref}
                {...props}
                variant={variant}
                onClick={handleClick}
            />
        )
    })
}
This override lets you switch between variants by clicking the component. It toggles between “Default” and “Dark”, and falls back safely if the value isn’t valid.
Now that the withVariantSwitch function is ready, we apply it in Framer.
Under the Code Overrides panel:
-
Set File to
VariantSwitch -
Set Override to
withVariantSwitch
Once that’s hooked up, every time you click the component, it’ll switch between the "Default" and "Dark" variants.

No extra props. No extra logic in the canvas. All handled inside the override.
💡 React Tip: When combining props, order matters.
If you’re controlling a prop likevariant, make sure to place it after{...props}in your JSX:
return (
   <Component
       ref={ref}
       {...props}
       variant={store.count === 0 ? "Left Disabled" : "Left"}
       onClick={decrement}
   />
)
Creating the Counter Component (with Code Overrides)
Let’s build a counter component and customize its logic with overrides.
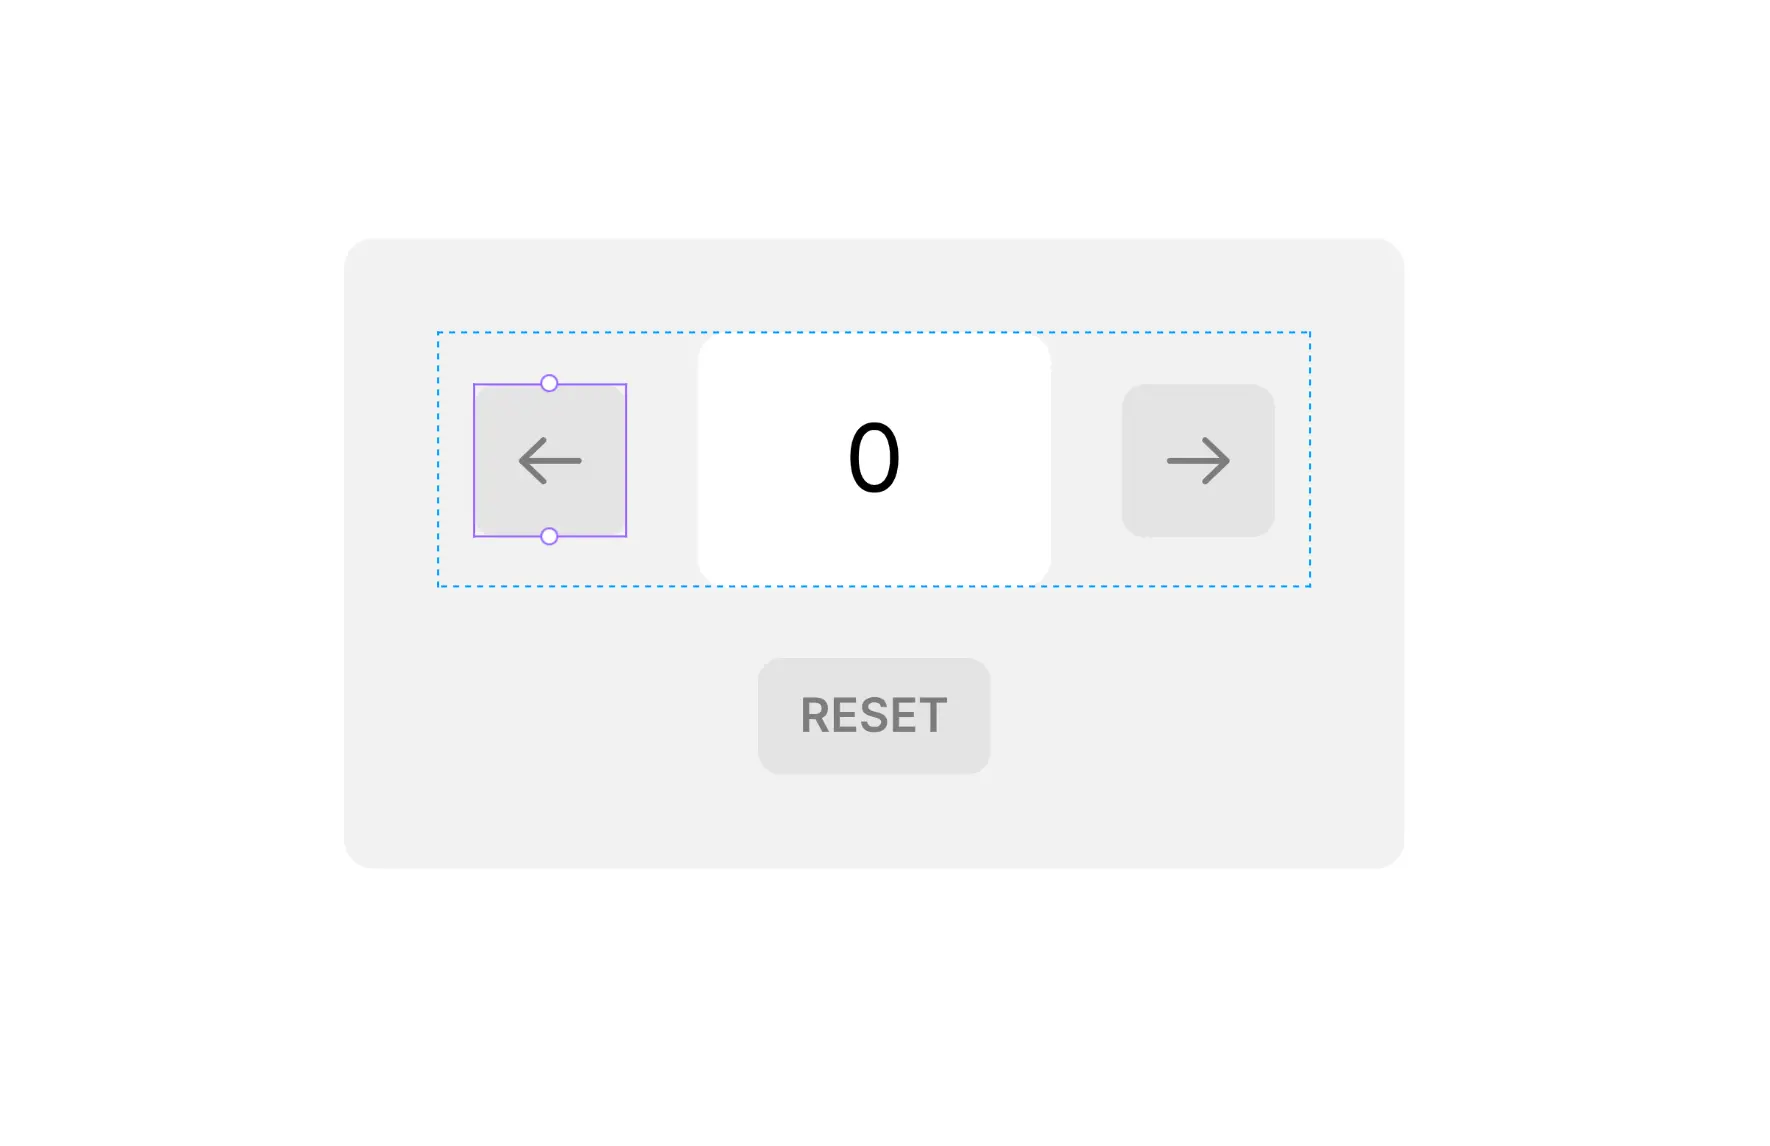
We have a stack that wraps the left and right buttons, and another stack that holds the text 0.
Below that, there’s a reset button.
Create a reusable button component with some icons (optional) and support for different variants.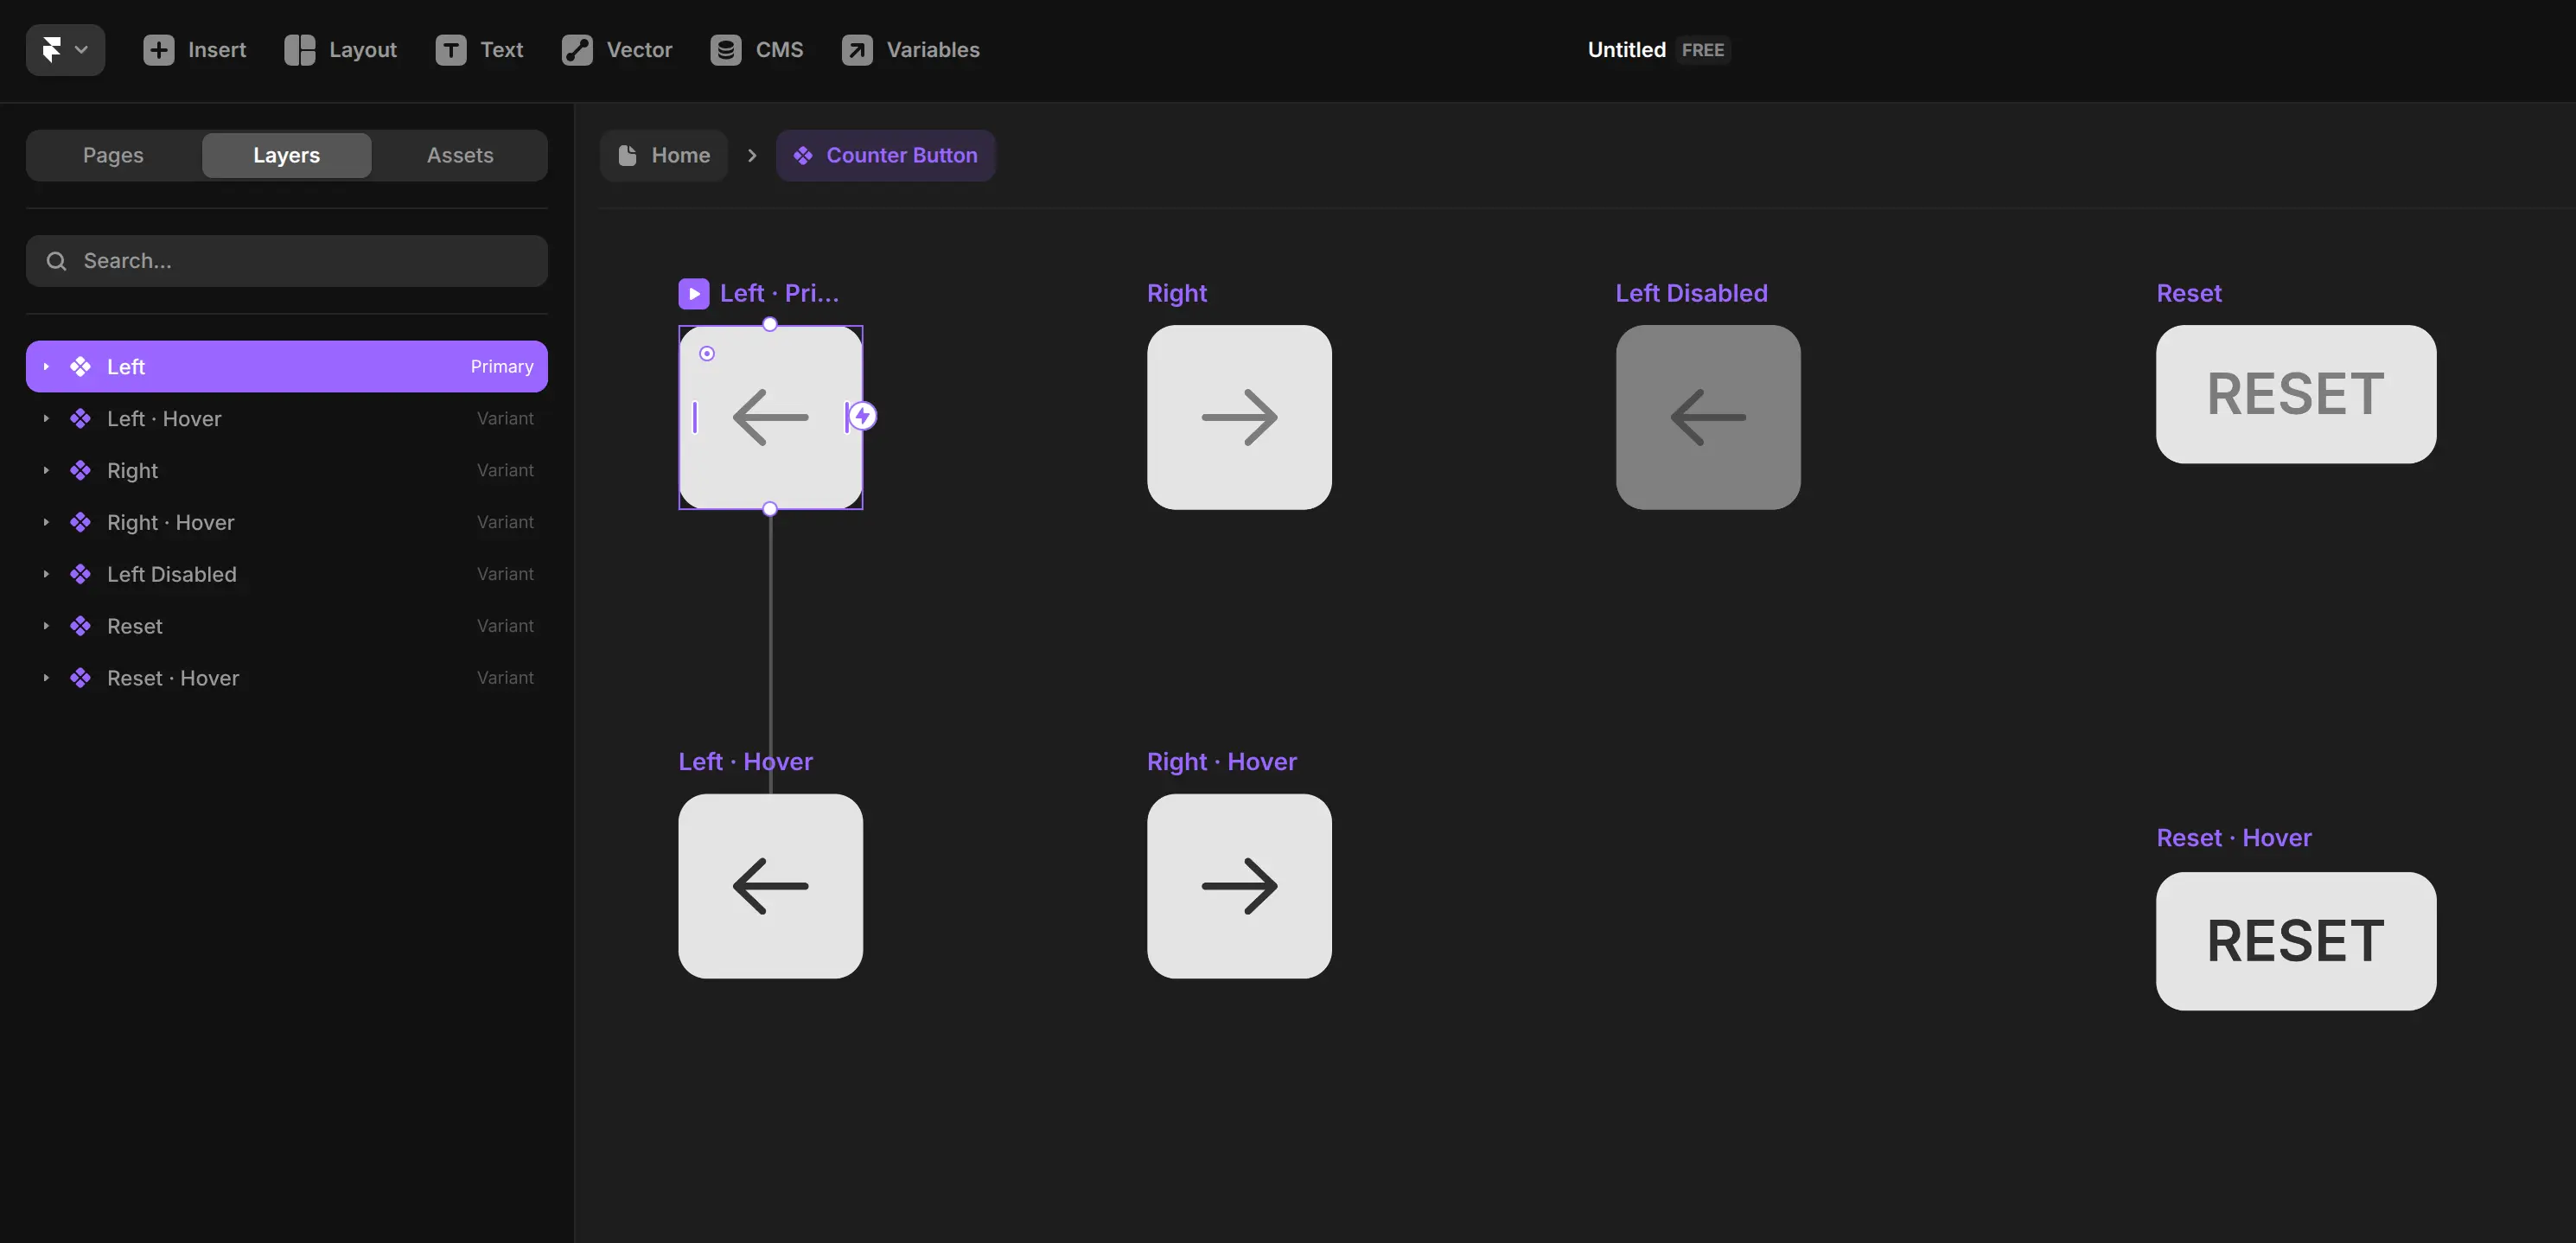
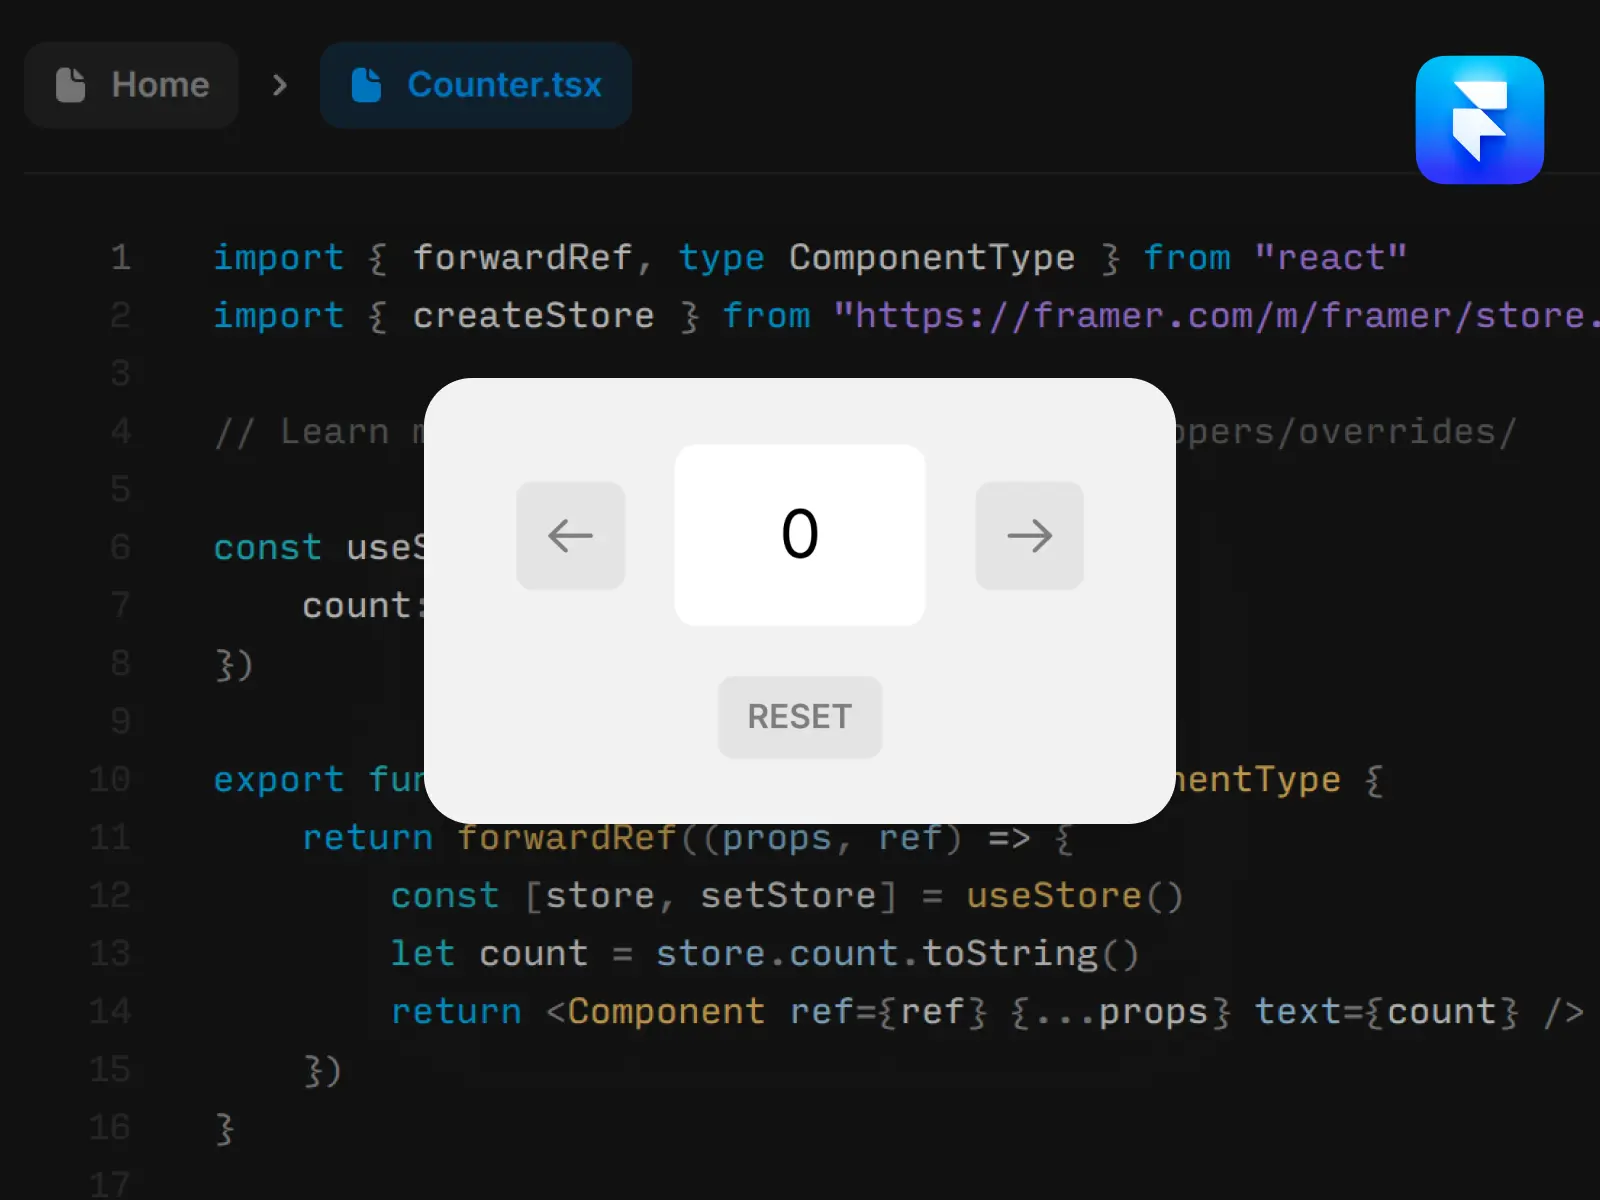
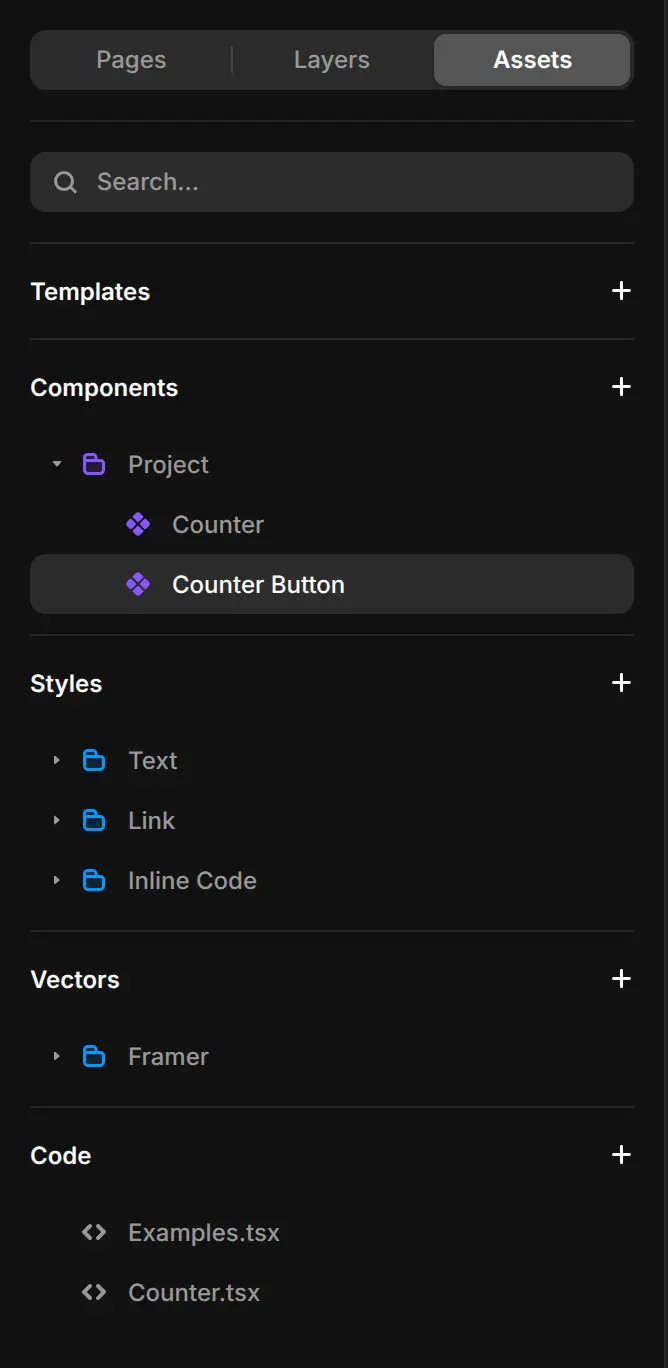
Go to Assets, duplicate Examples.tsx and name it Counter.tsx
Start with this:
import { forwardRef, type ComponentType } from "react"
import { createStore } from "https://framer.com/m/framer/store.js@^1.0.0"

// Learn more: https://www.framer.com/developers/overrides/

const useStore = createStore({
    count: 0,
})
First, we import forwardRef from React and createStore from Framer. Then we create a shared store with a single value, count, starting at 0.
Now we start adding the overrides.
1. withCount
This one reads the count from the store and sends it as text to the component.
export function withCount(Component): ComponentType {
    return forwardRef((props, ref) => {
        const [store, setStore] = useStore()
        let count = store.count.toString()
        return <Component ref={ref} {...props} text={count} />
    })
}
Text expects a string, so you have to use toString().
The number gets updated automatically when the store changes. Simple and reactive.
2. withIncrementClick
Adds a click handler that increases the count by 1. You click, the store updates, everything else reacts.
export function withIncrementClick(Component): ComponentType {
    return forwardRef((props, ref) => {
        const [store, setStore] = useStore()

        const increment = () => {
            setStore({ count: store.count + 1 })
        }

        return <Component ref={ref} {...props} onClick={increment} />
    })
}
Attach it with onClick.
3. withDecrementClick
Same idea, but for decreasing. It won’t let the count go below 0. Also changes the button variant when the count is zero.
export function withDecrementClick(Component): ComponentType {
    return forwardRef((props, ref) => {
        const [store, setStore] = useStore()

        const decrement = () => {
            if (store.count > 0) setStore({ count: store.count - 1 })
        }

        return (
            <Component
                ref={ref}
                {...props}
                variant={store.count === 0 ? "Left Disabled" : "Left"}
                onClick={decrement}
            />
        )
    })
}
Nice touch for UI feedback.
4. withReset
Resets the count back to 0. Good for starting over. Simple handler.
export function withReset(Component): ComponentType {
    return forwardRef((props, ref) => {
        const [store, setStore] = useStore()

        const reset = () => setStore({ count: 0 })

        return <Component ref={ref} {...props} onClick={reset} />
    })
}
Now you have four overrides, each one doing a single job, all connected through the same store. Clean, reactive, scalable.
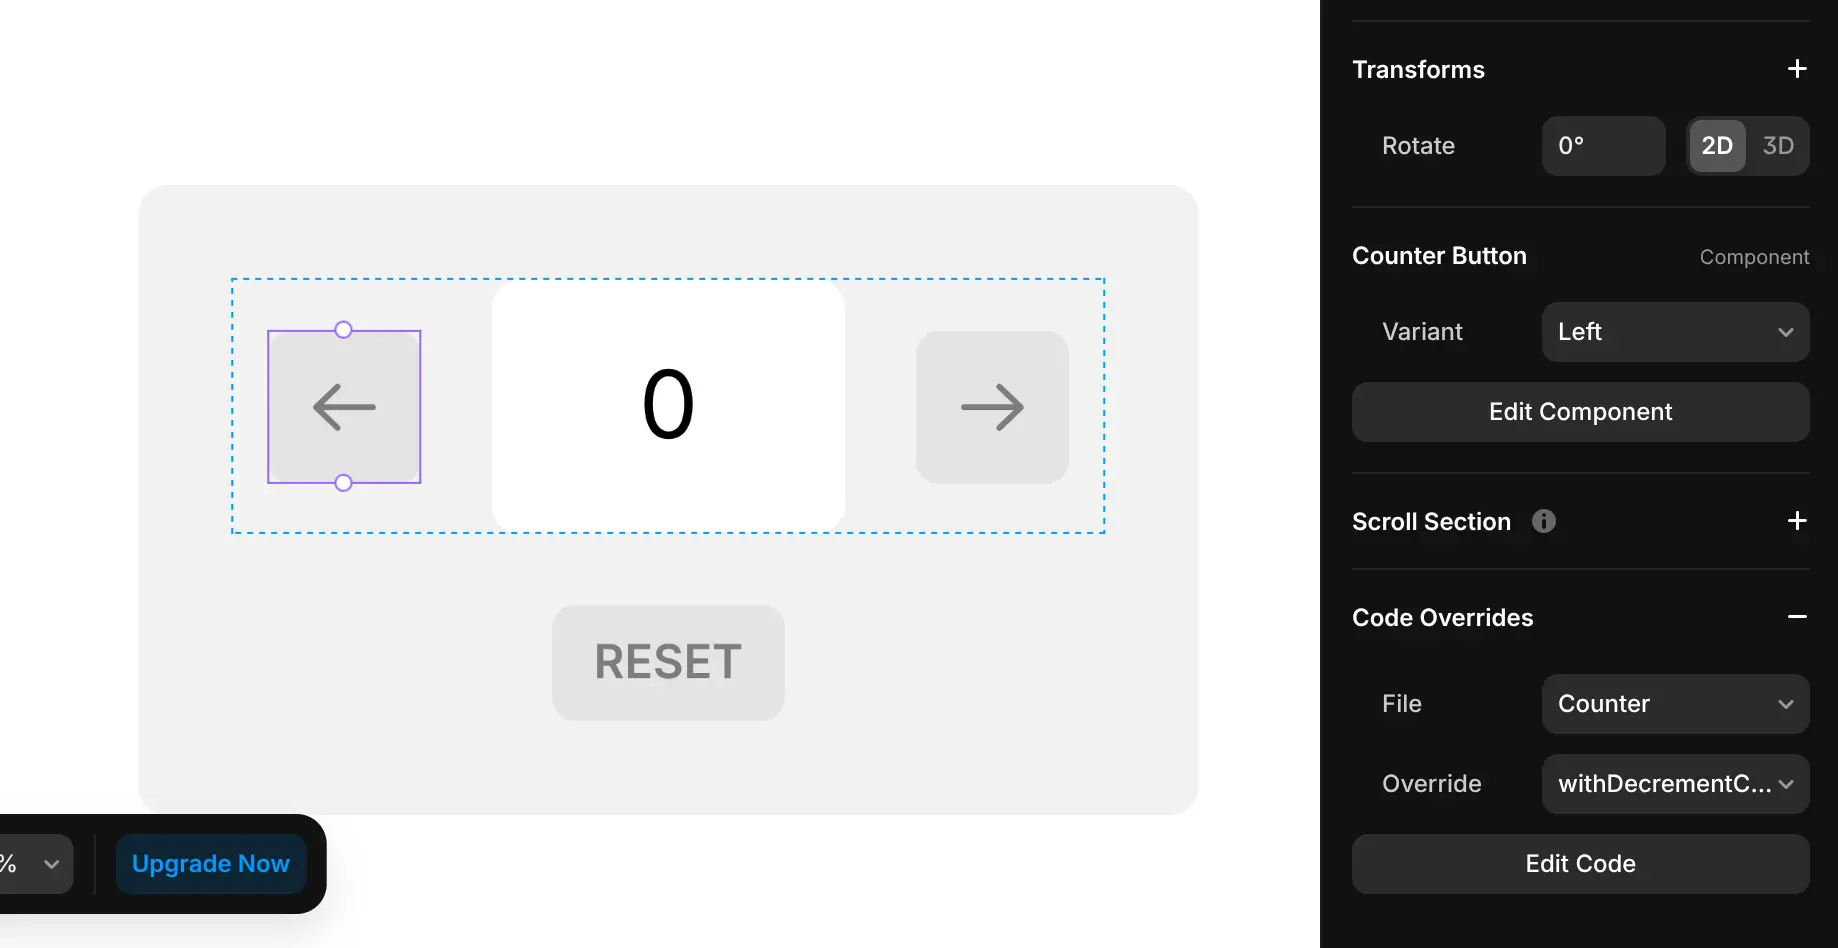
Now, go back to Home, select the left button component and connect withDecrementClick to it.
Apply withDecrementClick to the left button, withIncrementClick to the right one.
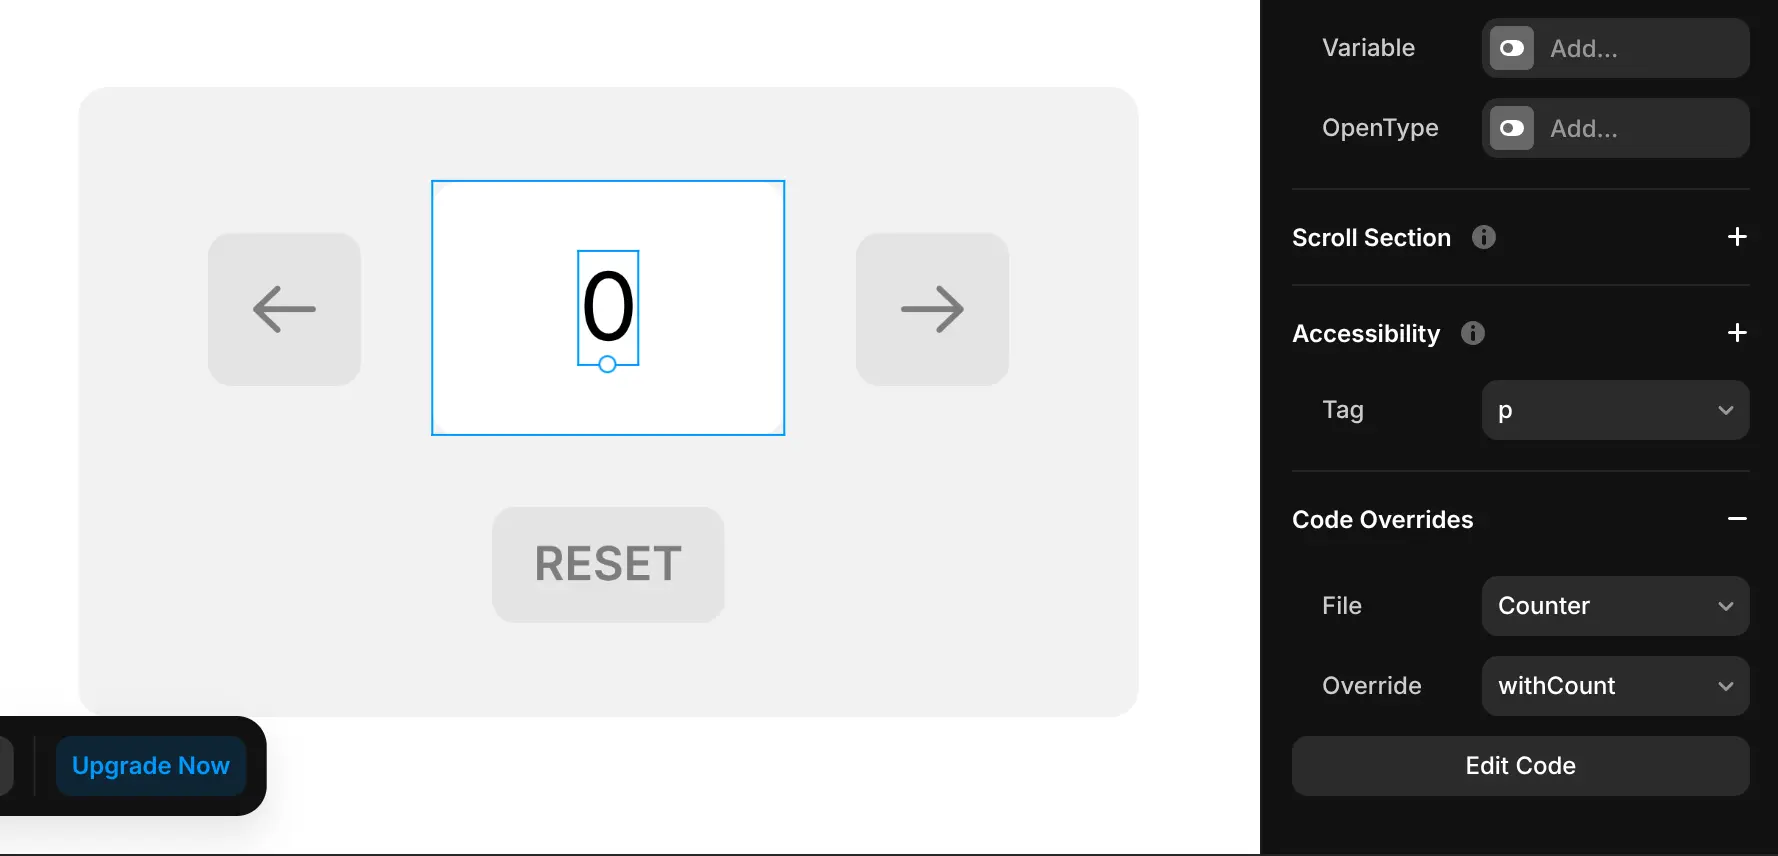
Use withCount on the text component to display the current count.
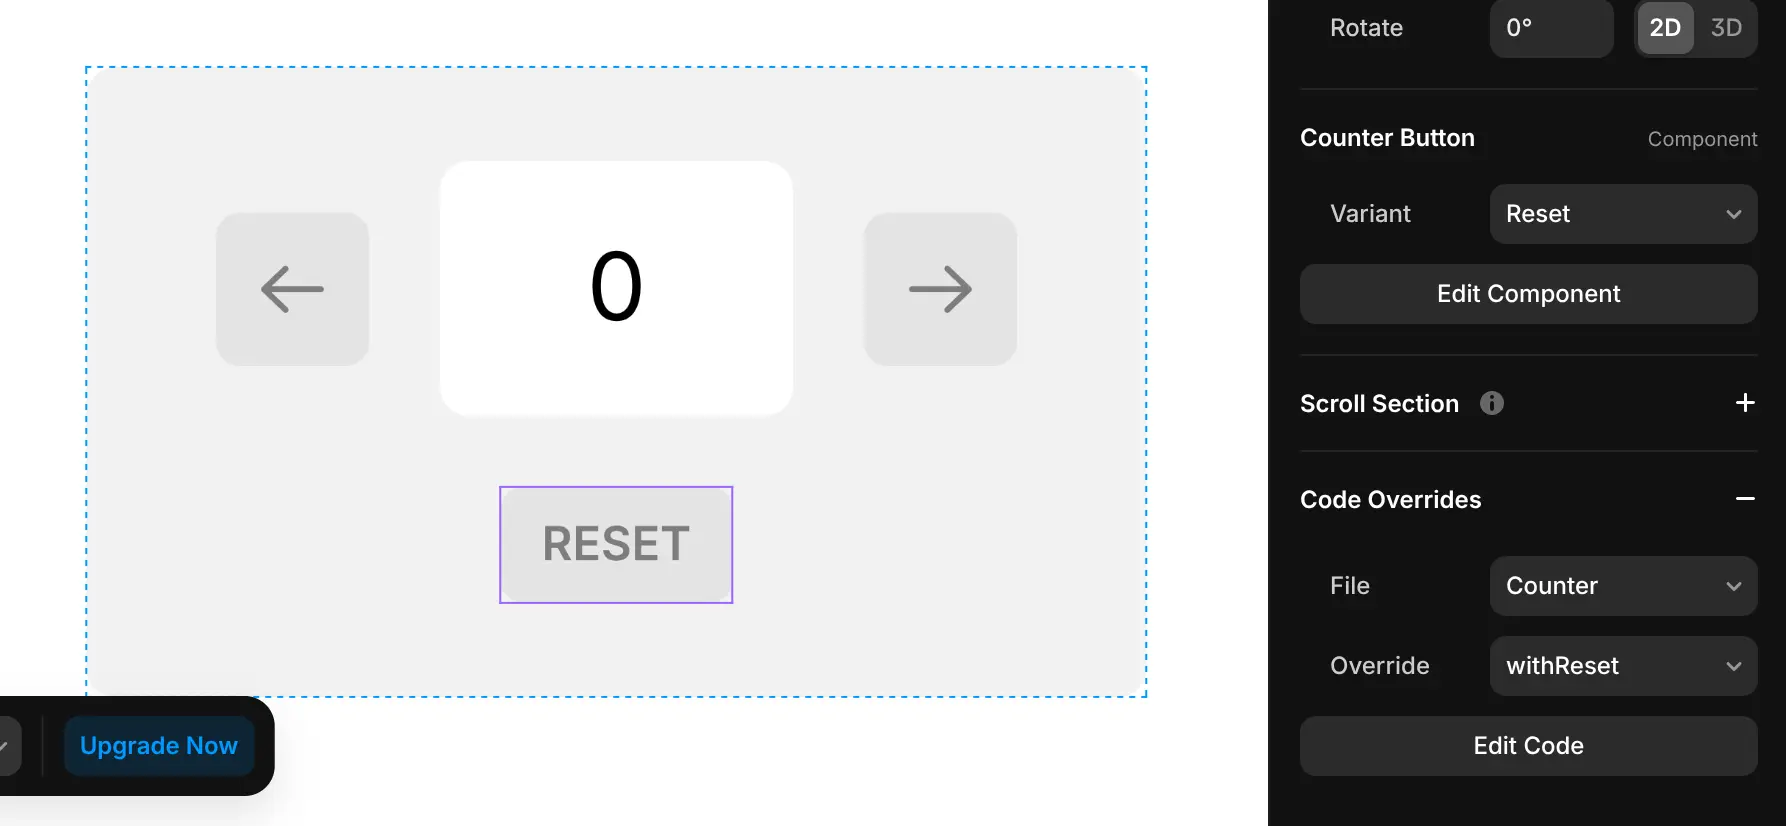
Finally, add withReset to the reset button.
That’s it, every piece is now synced through the same store, no props drilling, no extra state management. Just overrides doing their job.
import { forwardRef, type ComponentType } from "react"
import { createStore } from "https://framer.com/m/framer/store.js@^1.0.0"

// Learn more: https://www.framer.com/developers/overrides/

const useStore = createStore({
    count: 0,
})

export function withCount(Component): ComponentType {
    return forwardRef((props, ref) => {
        const [store, setStore] = useStore()
        let count = store.count.toString()
        return <Component ref={ref} {...props} text={count} />
    })
}

export function withIncrementClick(Component): ComponentType {
    return forwardRef((props, ref) => {
        const [store, setStore] = useStore()

        const increment = () => {
            setStore({ count: store.count + 1 })
        }

        return <Component ref={ref} {...props} onClick={increment} />
    })
}

export function withDecrementClick(Component): ComponentType {
    return forwardRef((props, ref) => {
        const [store, setStore] = useStore()

        const decrement = () => {
            if (store.count > 0) setStore({ count: store.count - 1 })
        }

        return (
            <Component
                ref={ref}
                {...props}
                variant={store.count === 0 ? "Left Disabled" : "Left"}
                onClick={decrement}
            />
        )
    })
}

export function withReset(Component): ComponentType {
    return forwardRef((props, ref) => {
        const [store, setStore] = useStore()

        const reset = () => setStore({ count: 0 })

        return <Component ref={ref} {...props} onClick={reset} />
    })
}