How to Set Up Google Search Console for Any Website
How to Set Up Google Search Console for Any Website
You built your site. You’re putting work into it. But here’s the thing, you have no idea if Google is actually finding it.
That’s where Google Search Console comes in.
It’s free, it takes about 10 minutes to set up, and it tells you exactly which pages Google is showing to real people, and which ones it’s completely ignoring.
This guide works for any site, Astro, Webflow, Framer, WordPress, whatever you’re running. The only part that’s platform-specific is the sitemap step, and I’ll cover that for each one.
What is Google Search Console (and why should you care)?
Quick clarification first: Google Search Console is not a traffic tool. It won’t tell you how many visitors you had today.
What it does tell you is way more useful:
- Which search queries people use to find your site
- How many times your pages showed up in Google results (impressions)
- How many people actually clicked through
- Which pages Google has indexed, and which ones it hasn’t
If you want your site to be found on Google, this is the data that actually matters.
Step 1: Add your site as a property
Go to search.google.com/search-console 🔗 and sign in with your Google account.
Click Add property.
You’ll see two options: URL prefix or Domain. Choose Domain, it covers your site with and without www, plus all subdomains, all in one place.
Enter your domain and hit Continue.
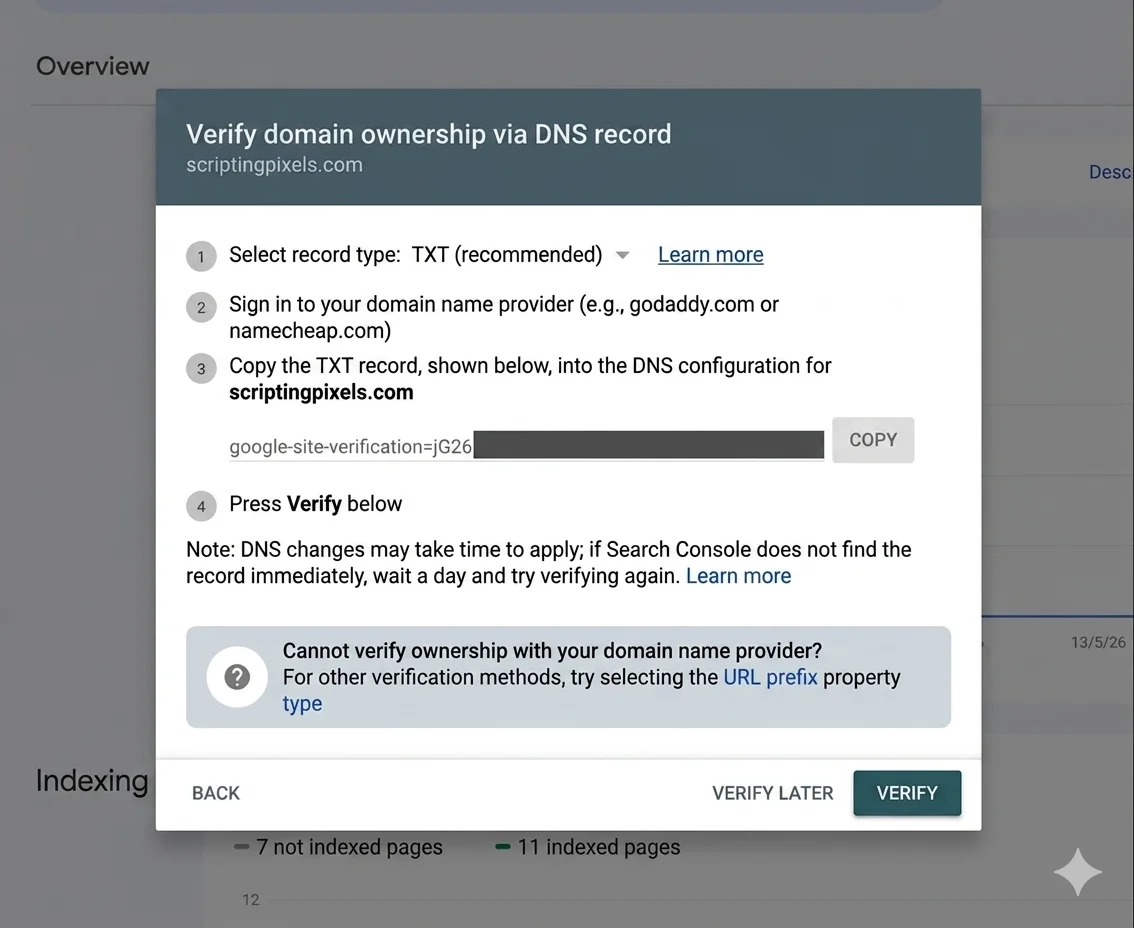
Step 2: Verify ownership with a TXT record
Google needs to confirm you actually own the site before showing you any data.
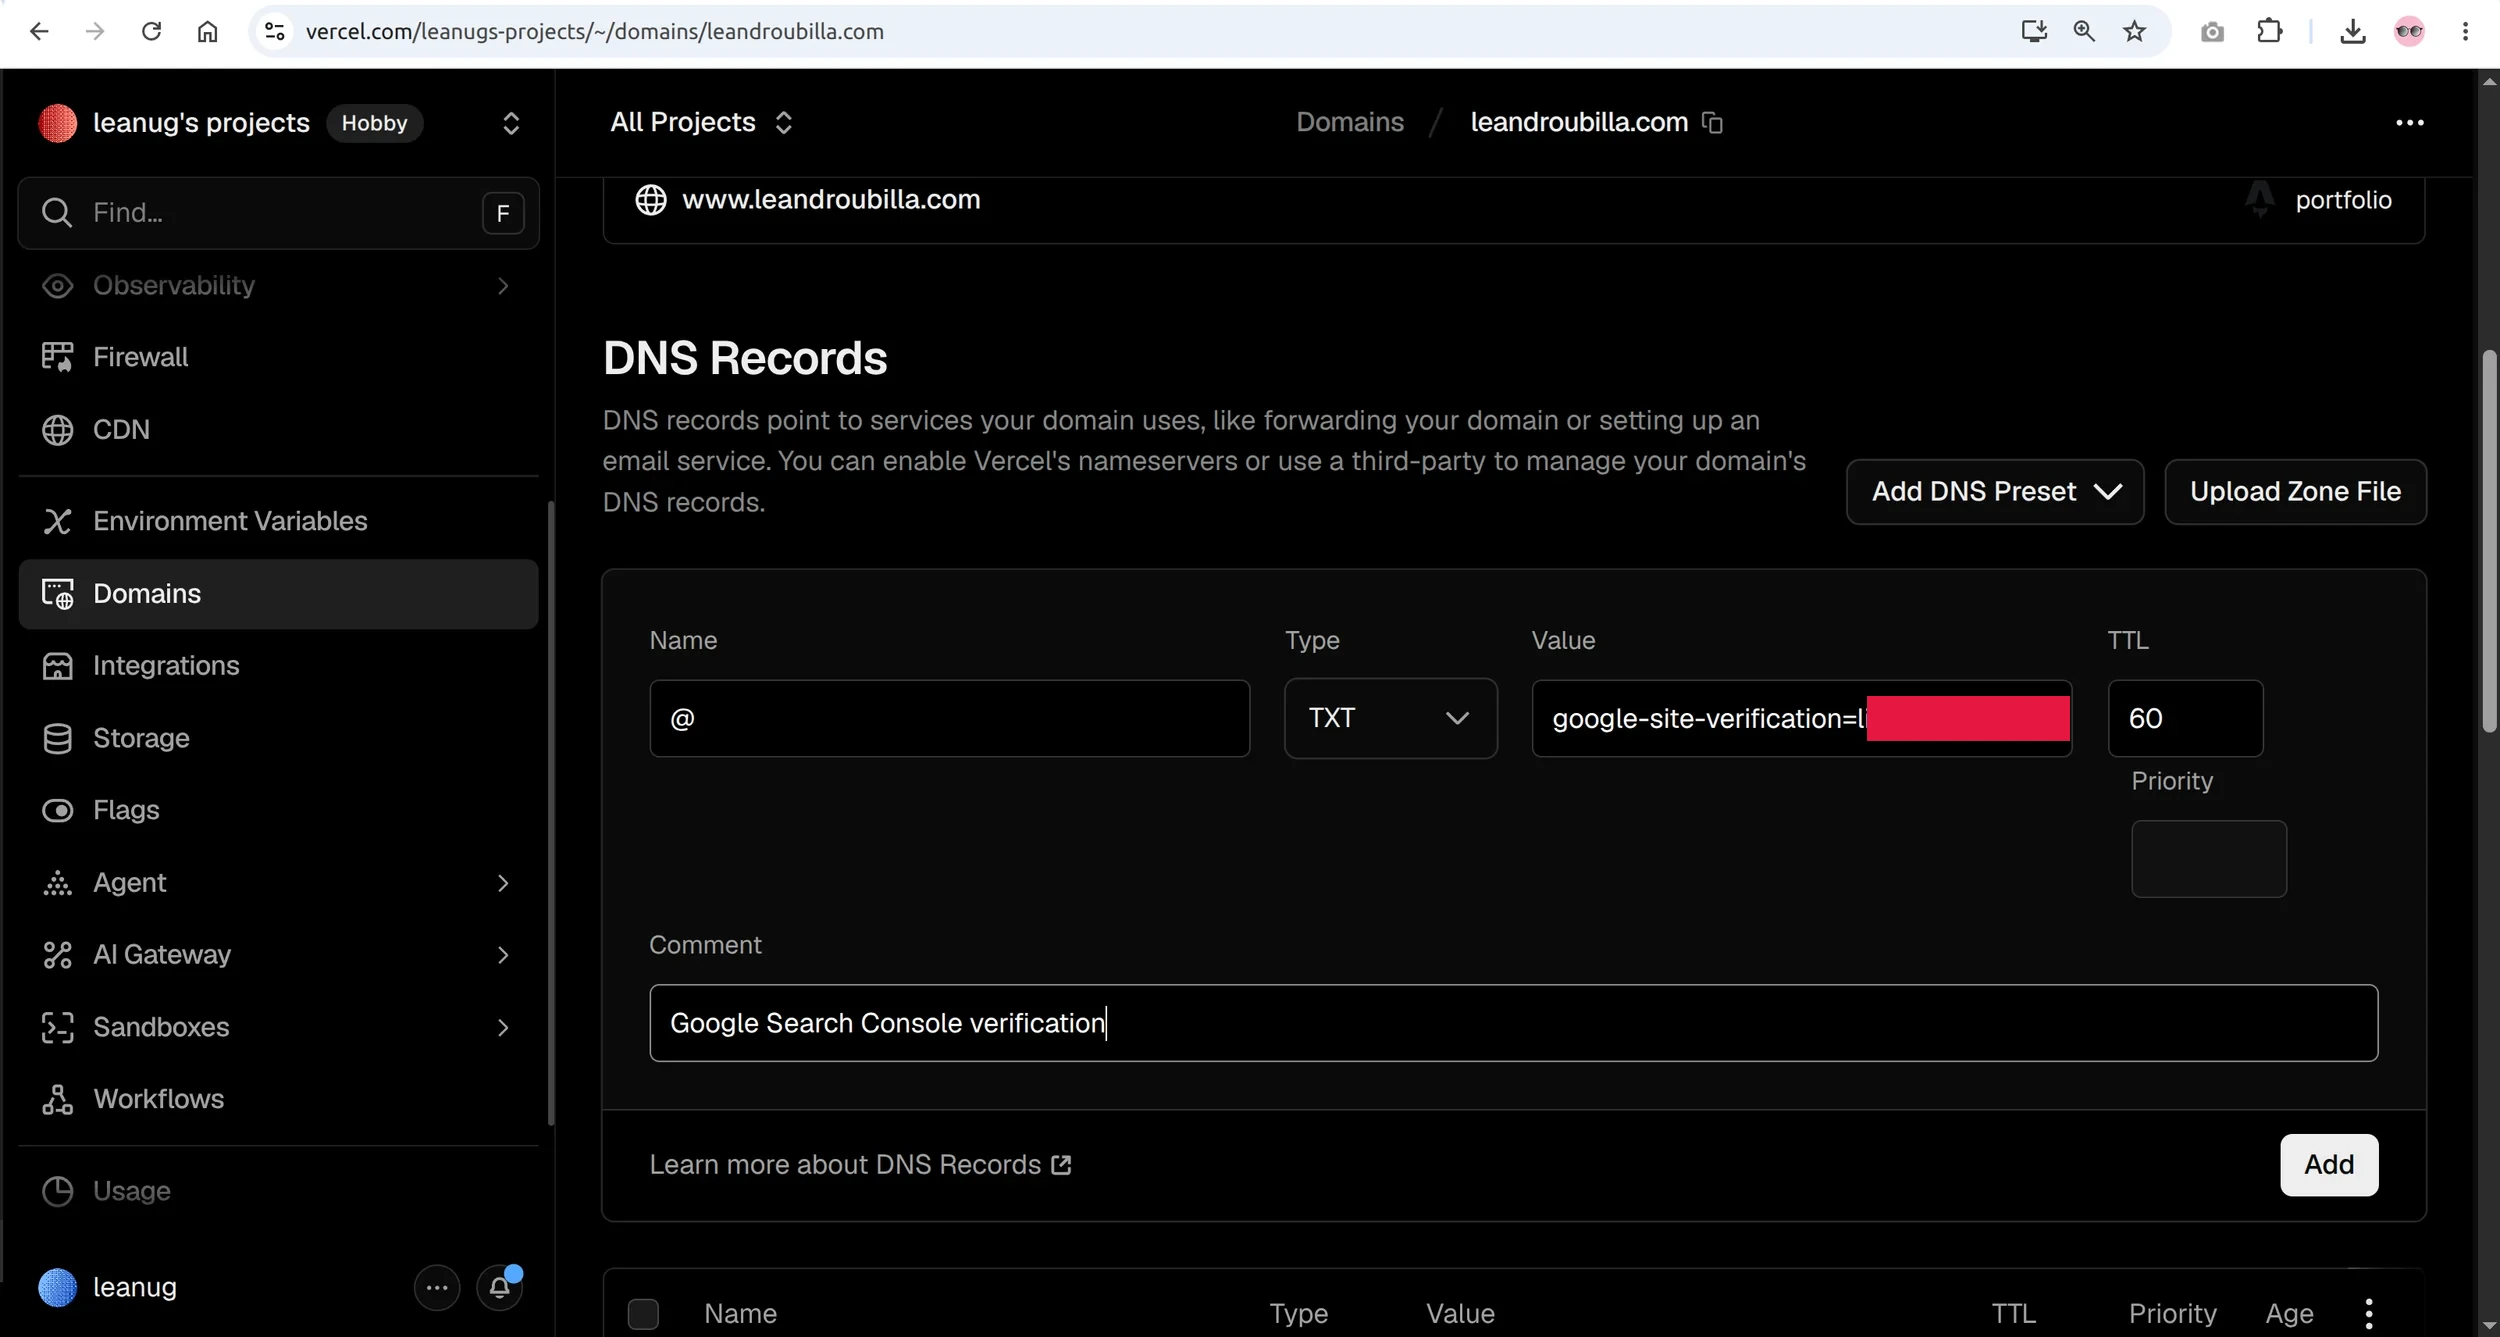
The easiest method is a DNS TXT record. Google will give you a string of text that looks something like this:
google-site-verification=abc123xyz...Now you need to add that to your DNS settings. Where you do this depends on where your DNS is managed, and this is where most people get confused.
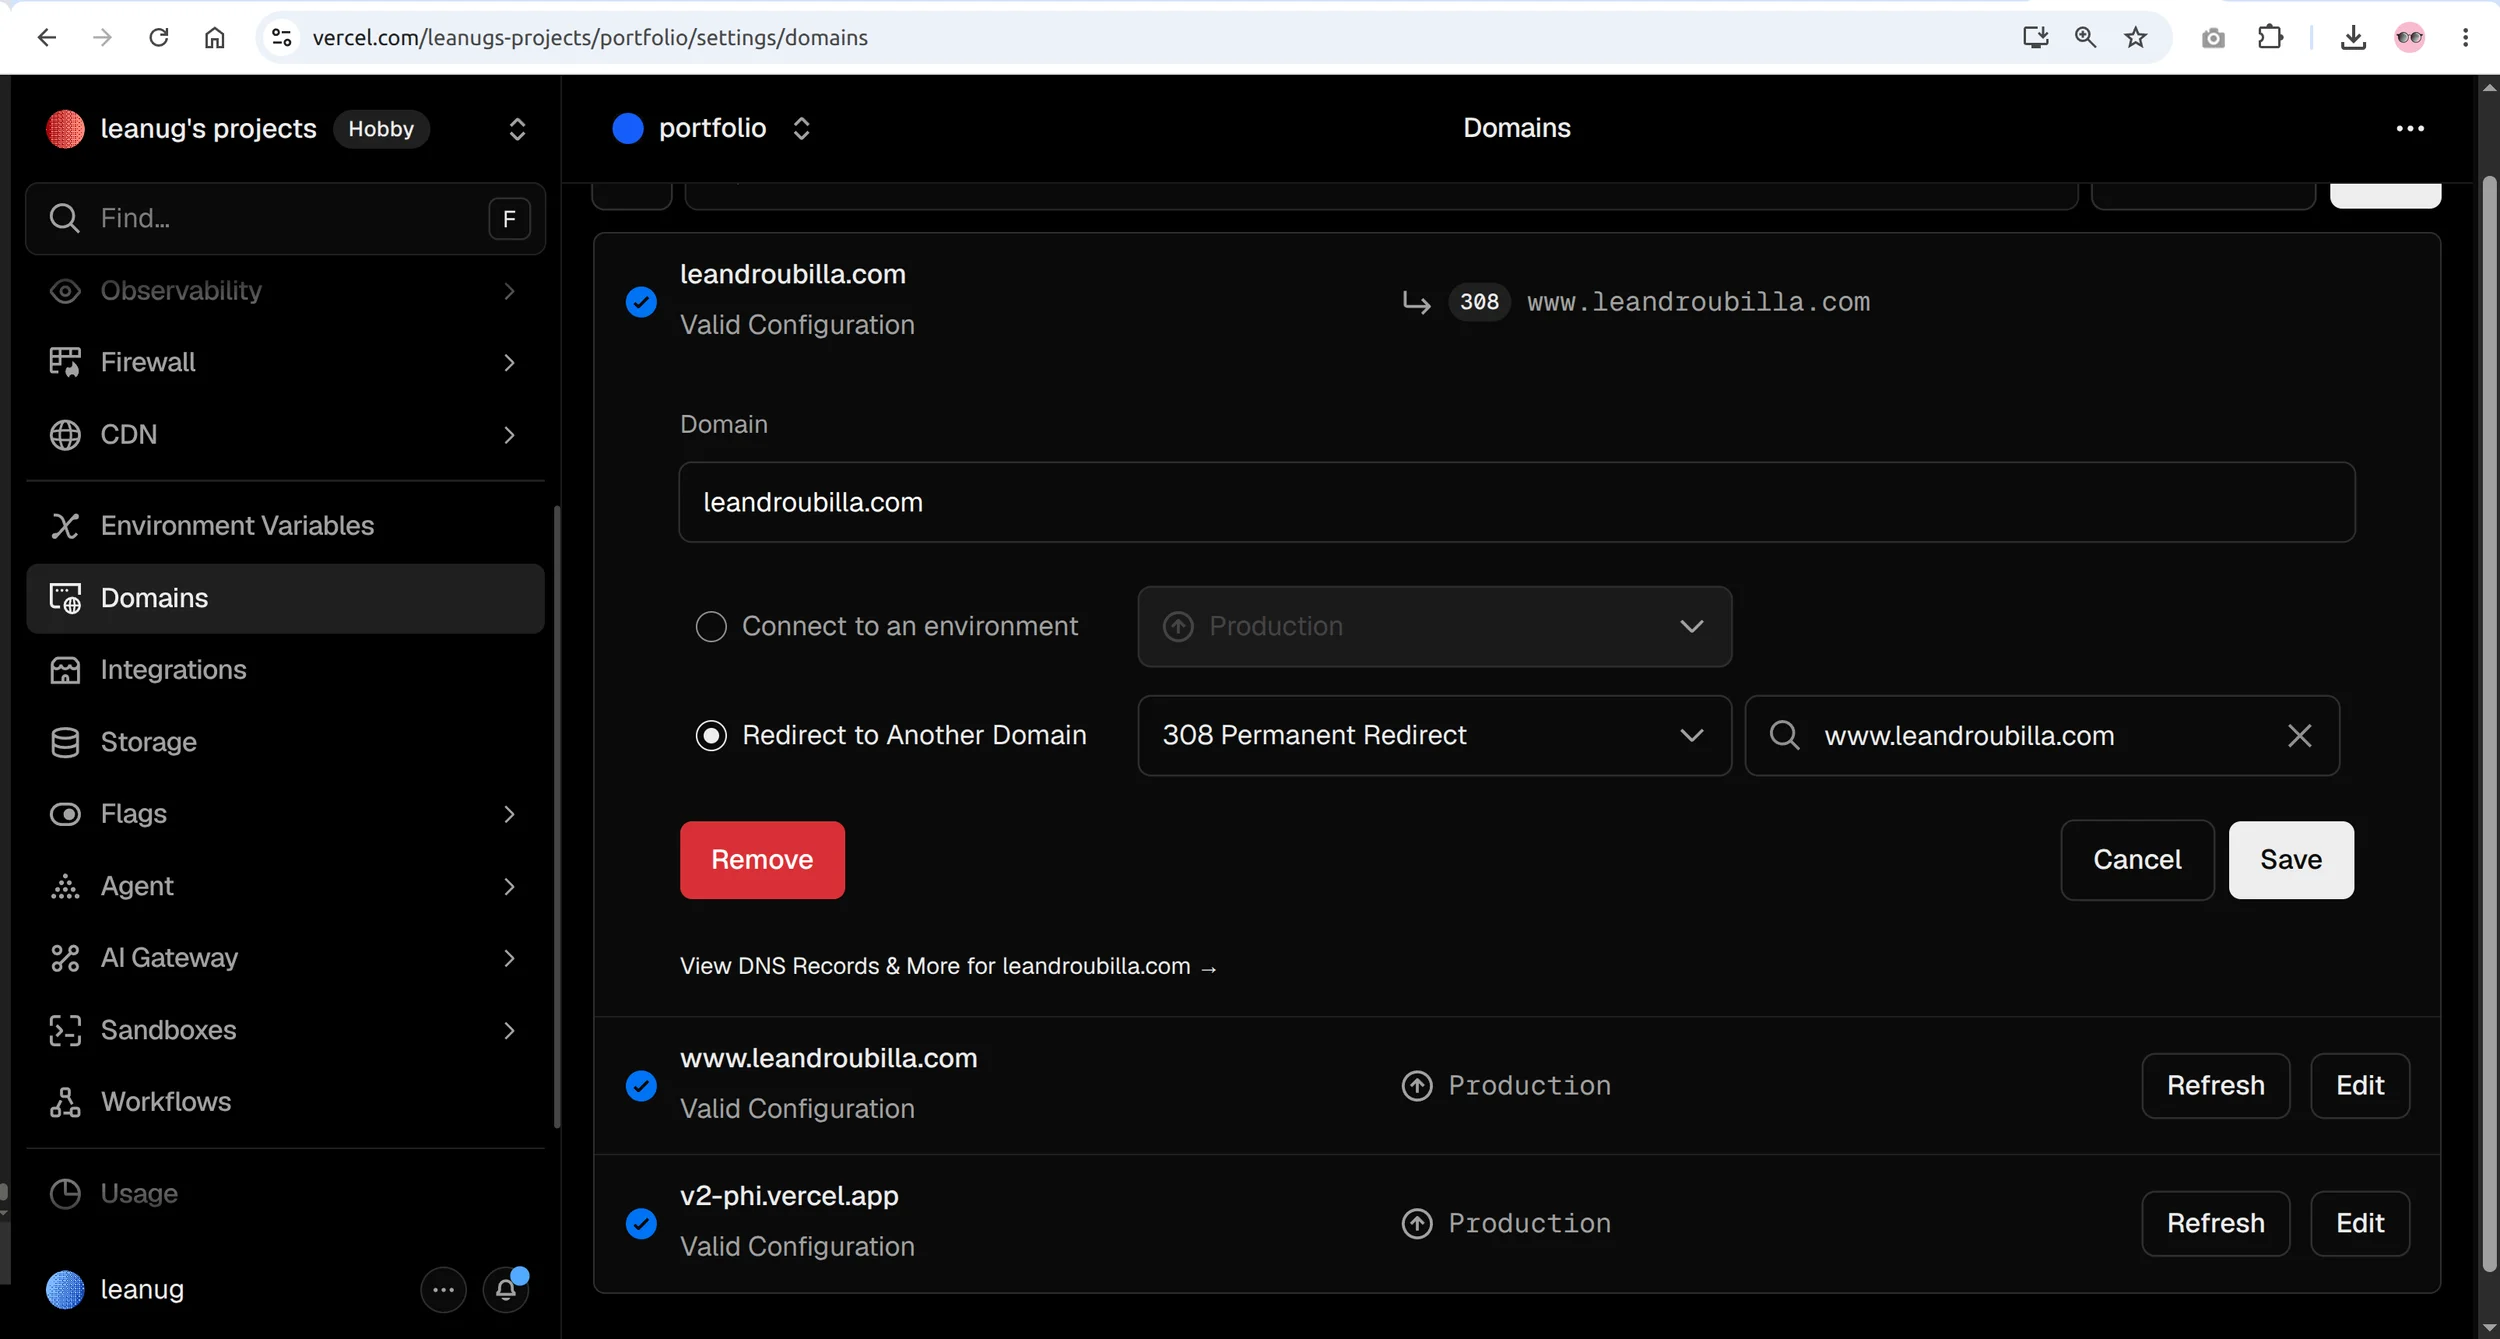
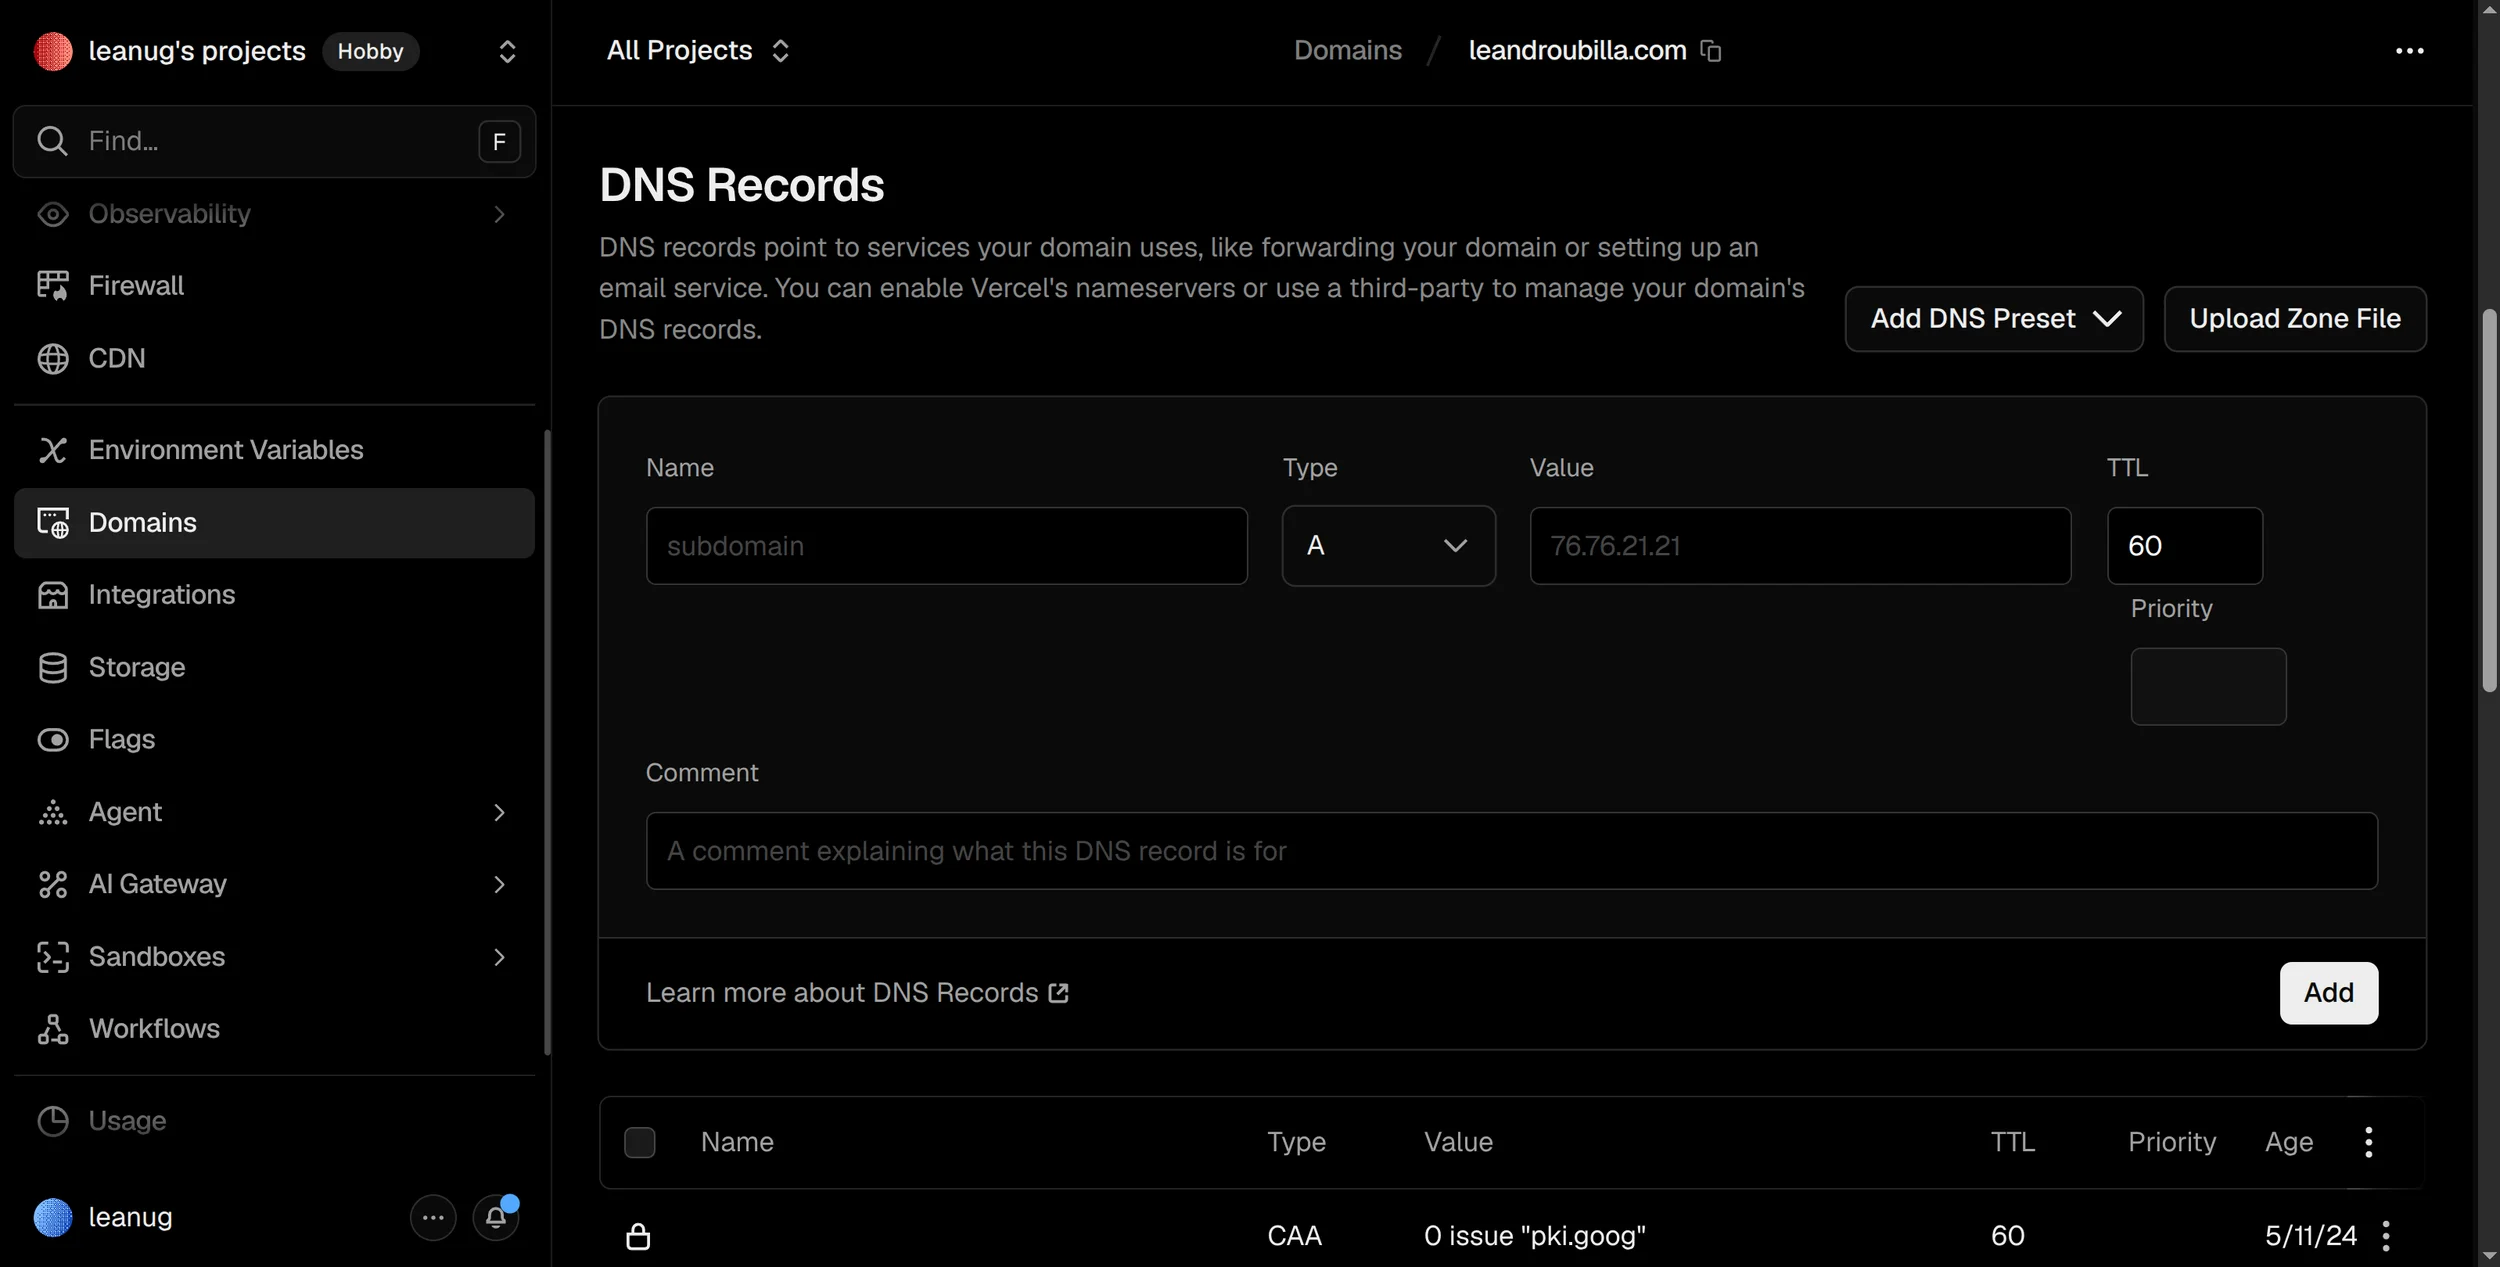
If your site is hosted on Vercel, your DNS is probably managed there, not at your domain registrar. Go to your Vercel dashboard → Settings → Domains, and add the TXT record there.
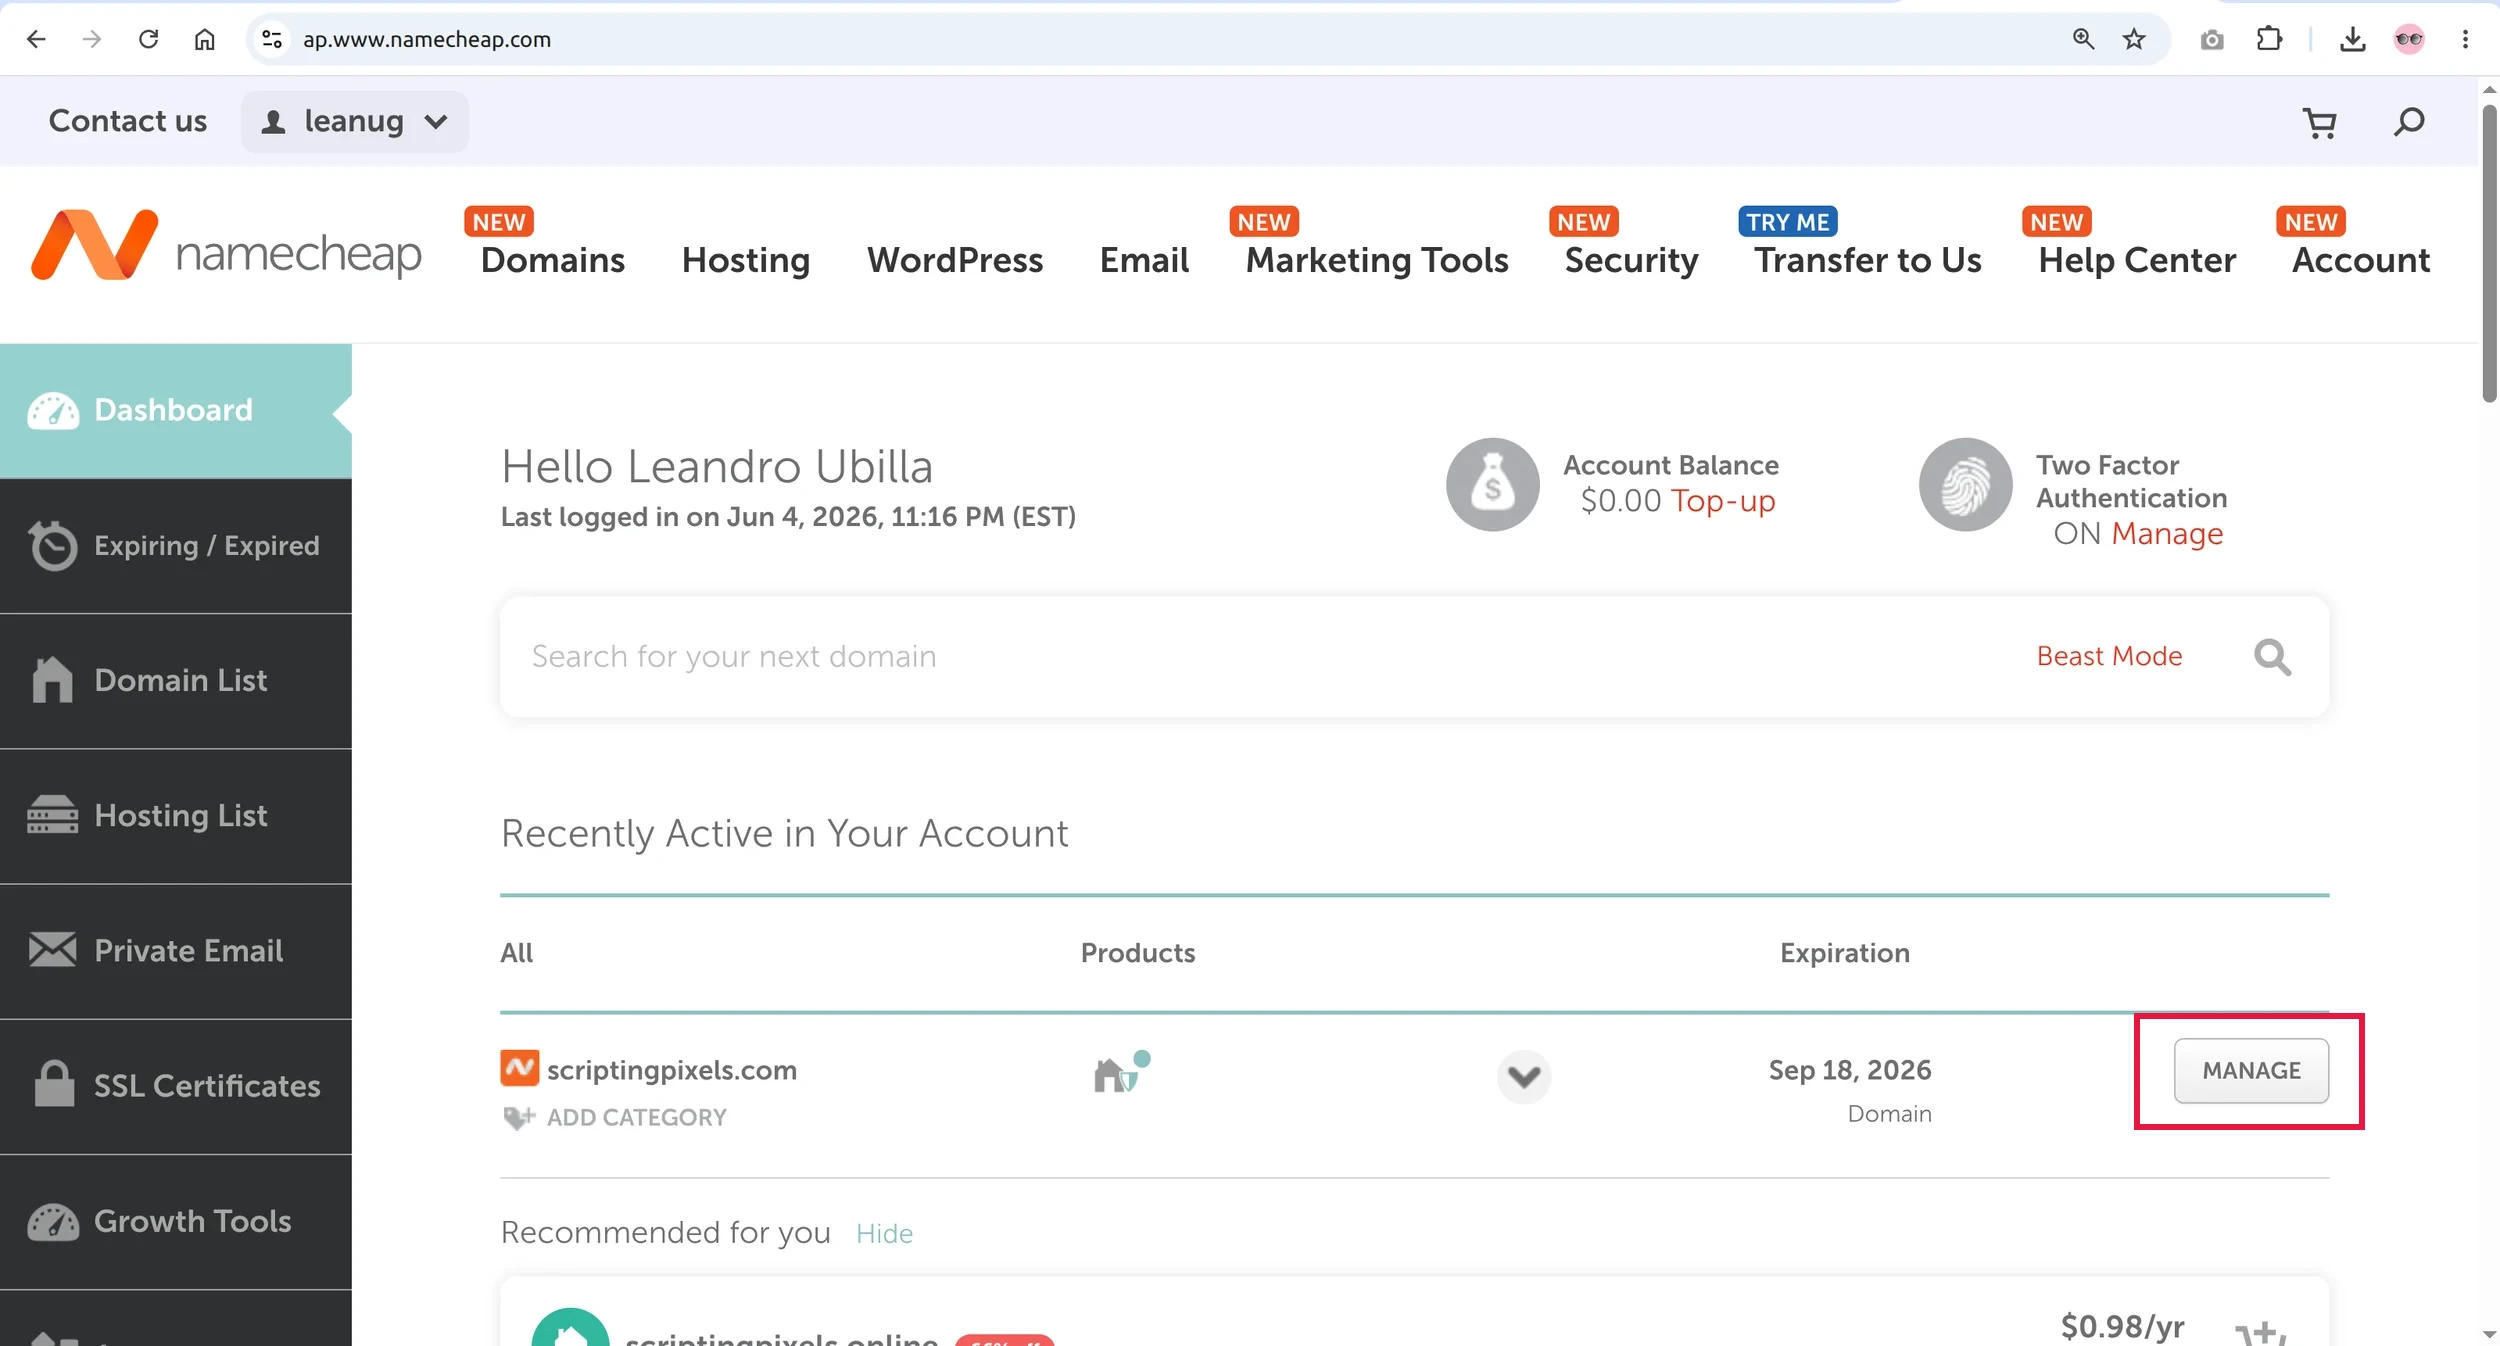
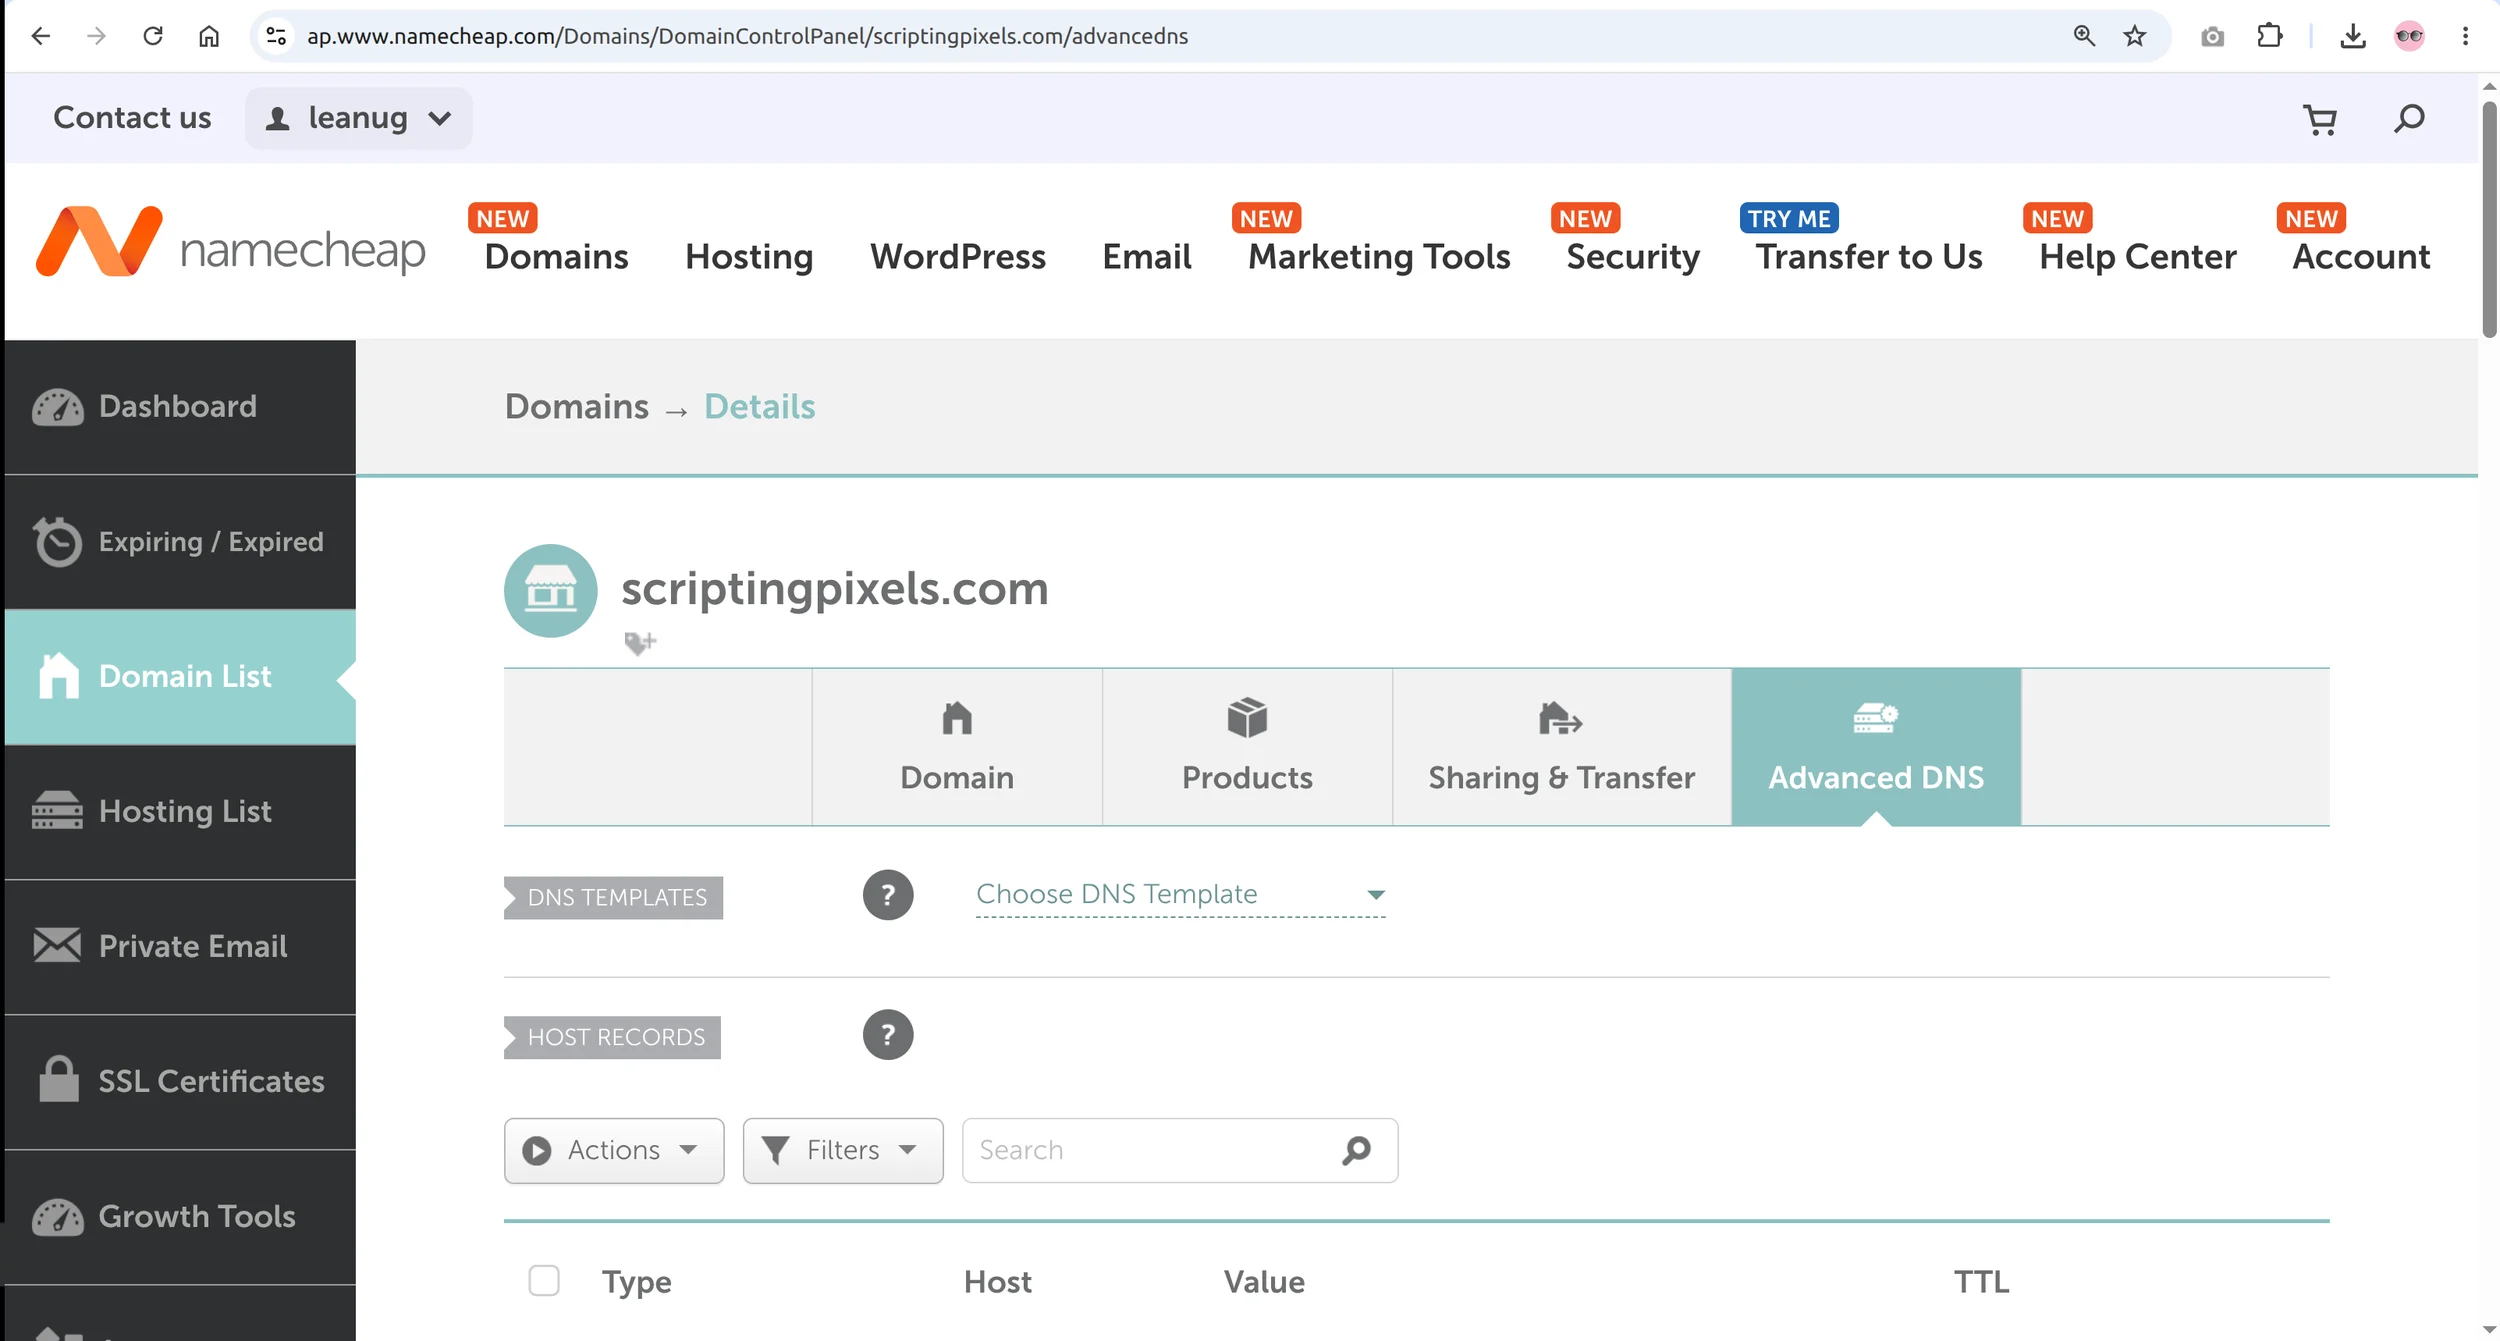
If you’re using Namecheap BasicDNS, go to Advanced DNS in your Namecheap account and add it there.
If you’re on Cloudflare, add the TXT record in your Cloudflare DNS dashboard.
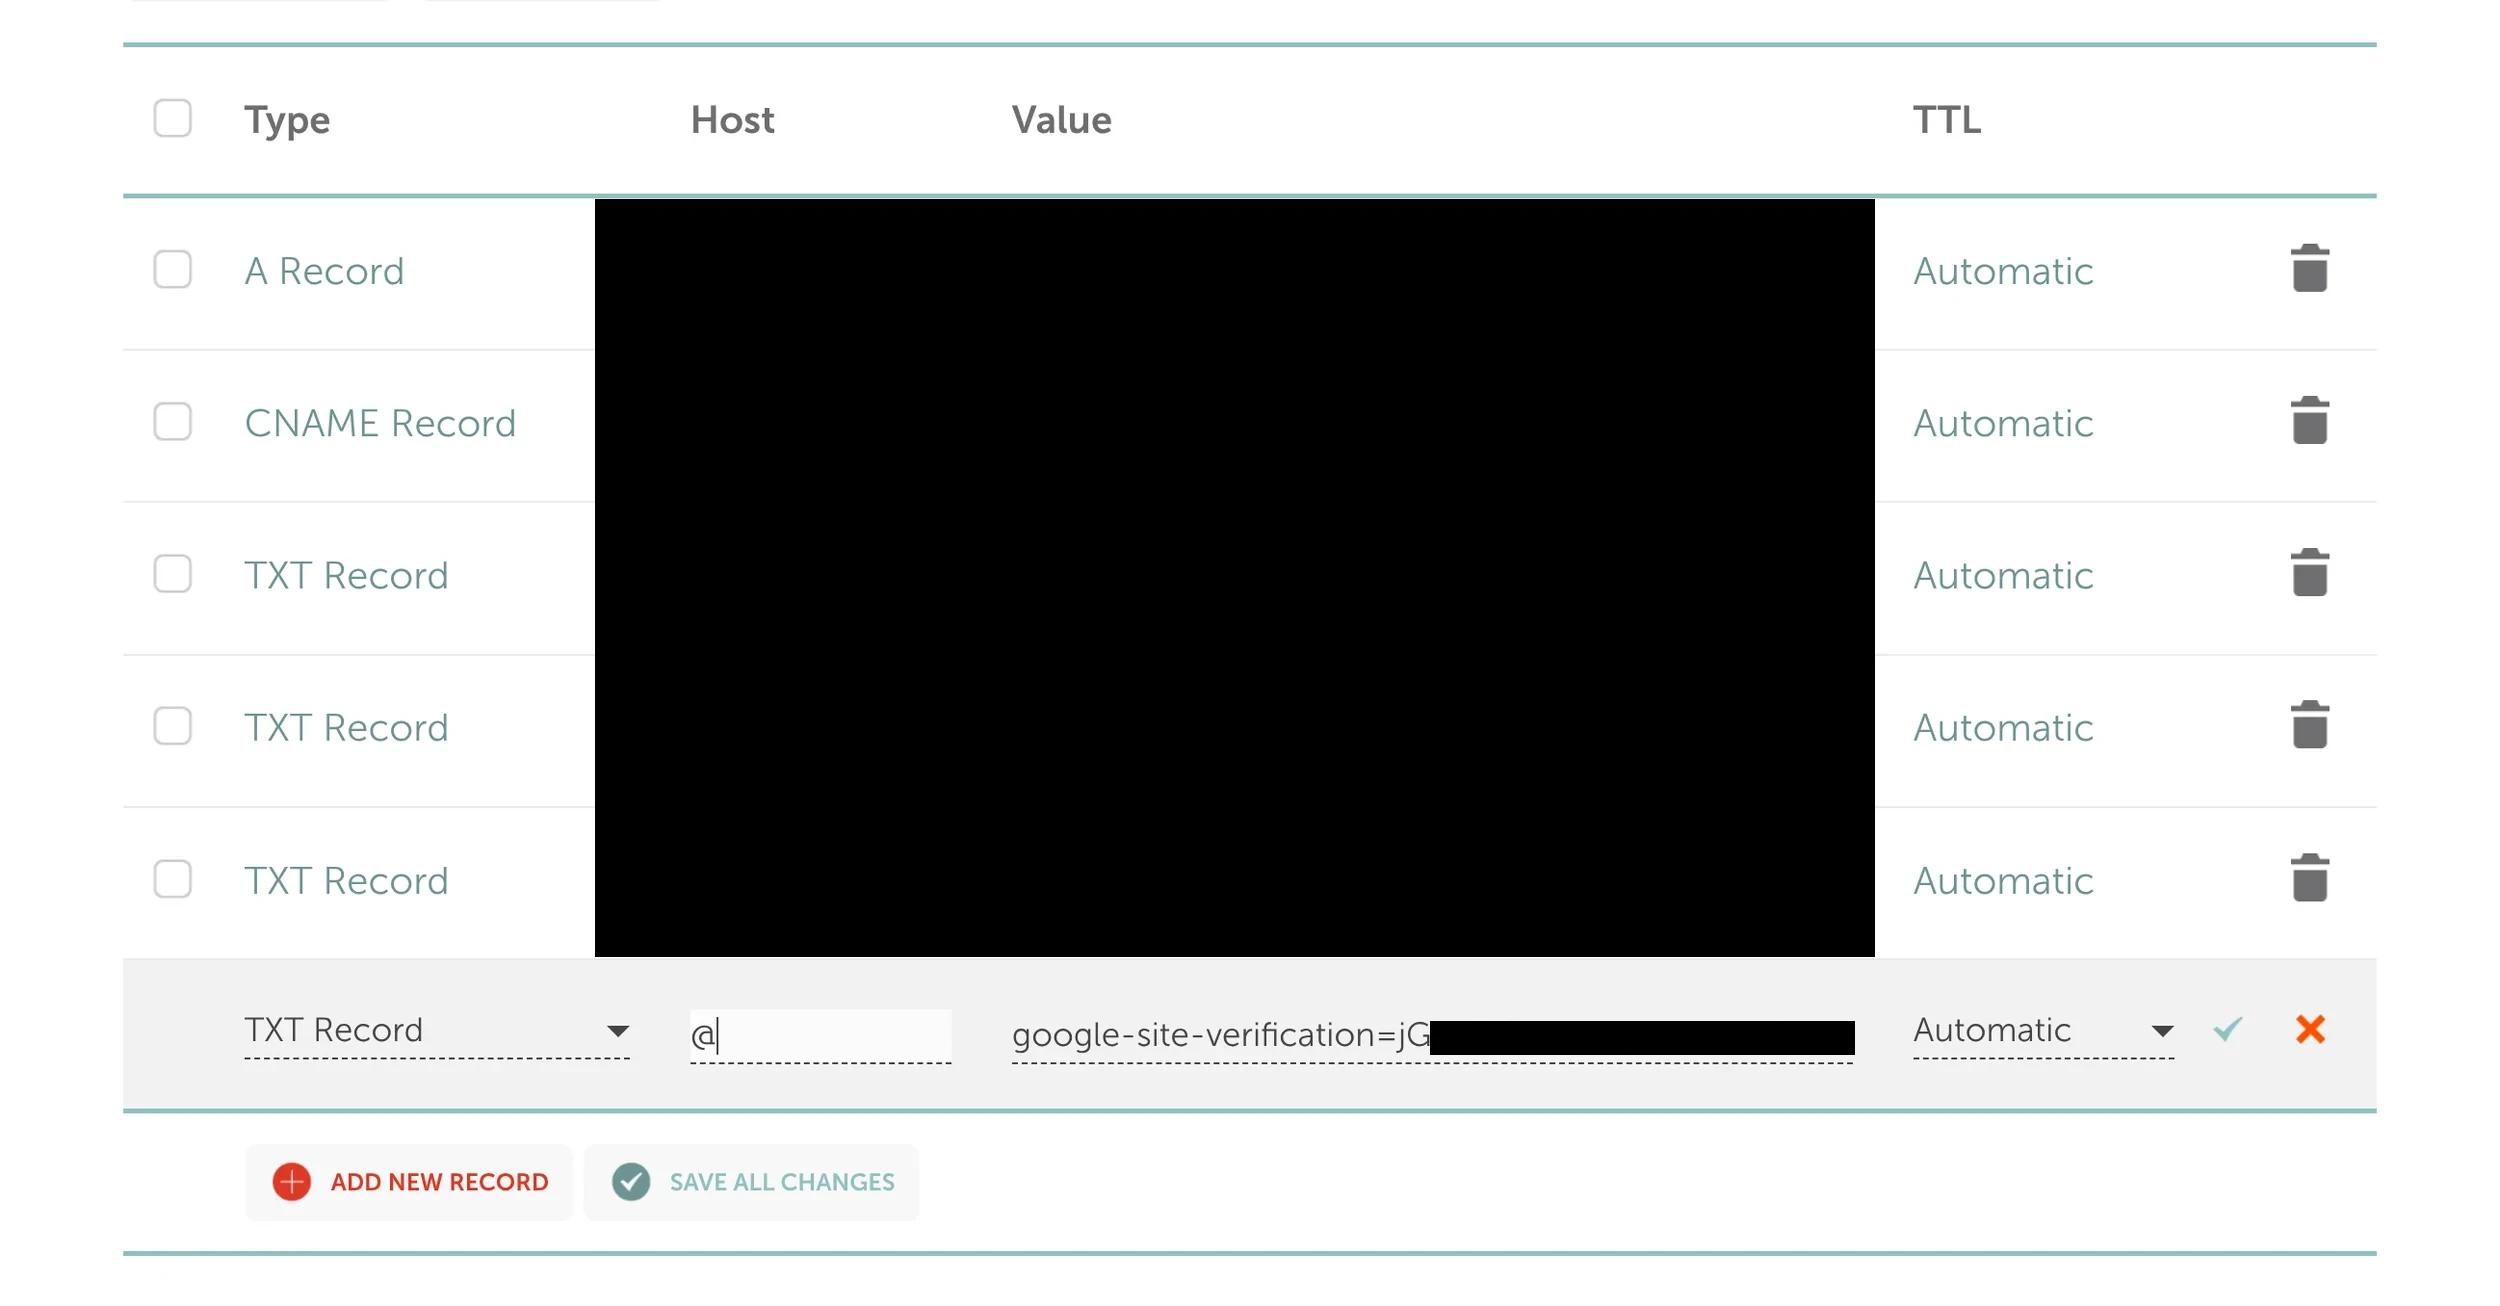
When adding the record, use these settings:
- Type: TXT
- Name/Host:
@(this means your root domain) - Value: the Google verification string
- TTL: leave as default
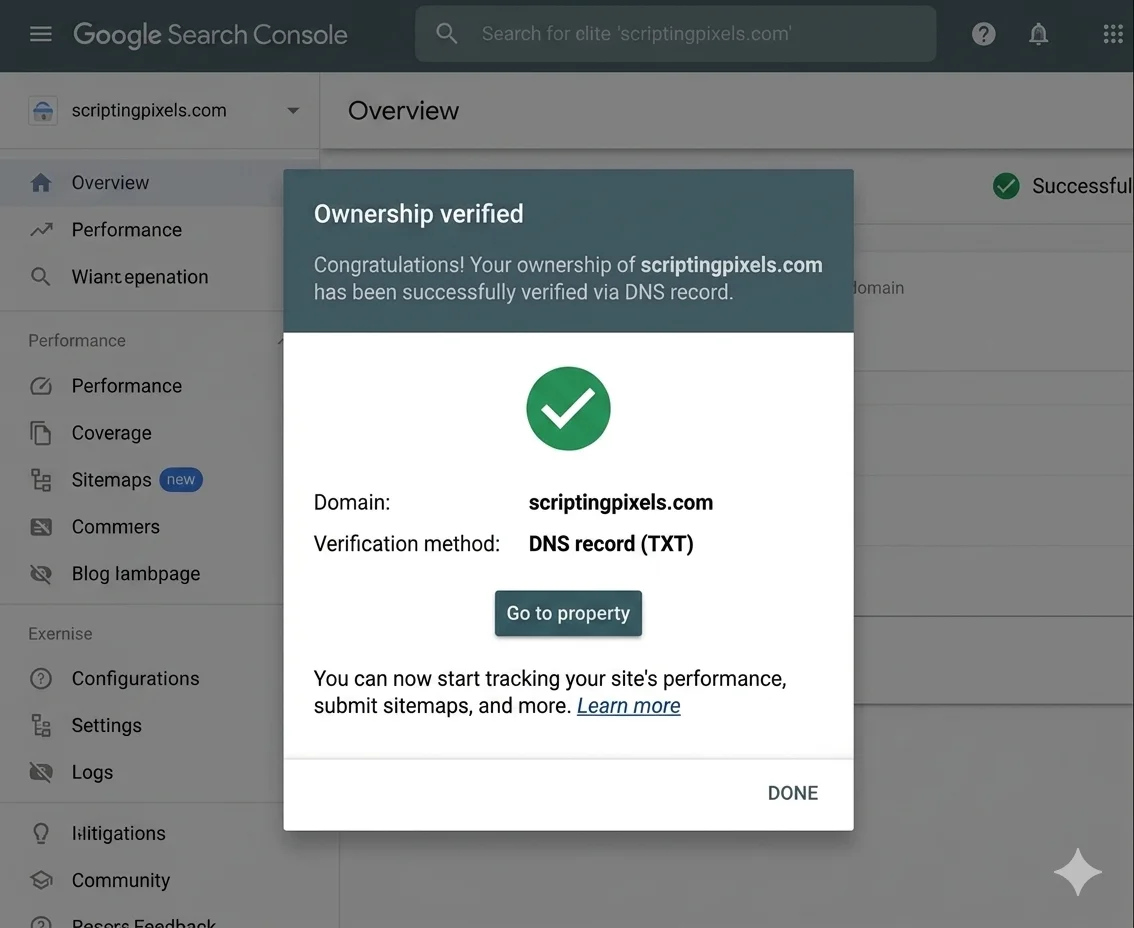
Once you’ve saved the record, go back to Search Console and hit Verify. DNS changes can take a few minutes to propagate, so if it fails the first time just wait and try again.
Step 3: Find or generate your sitemap
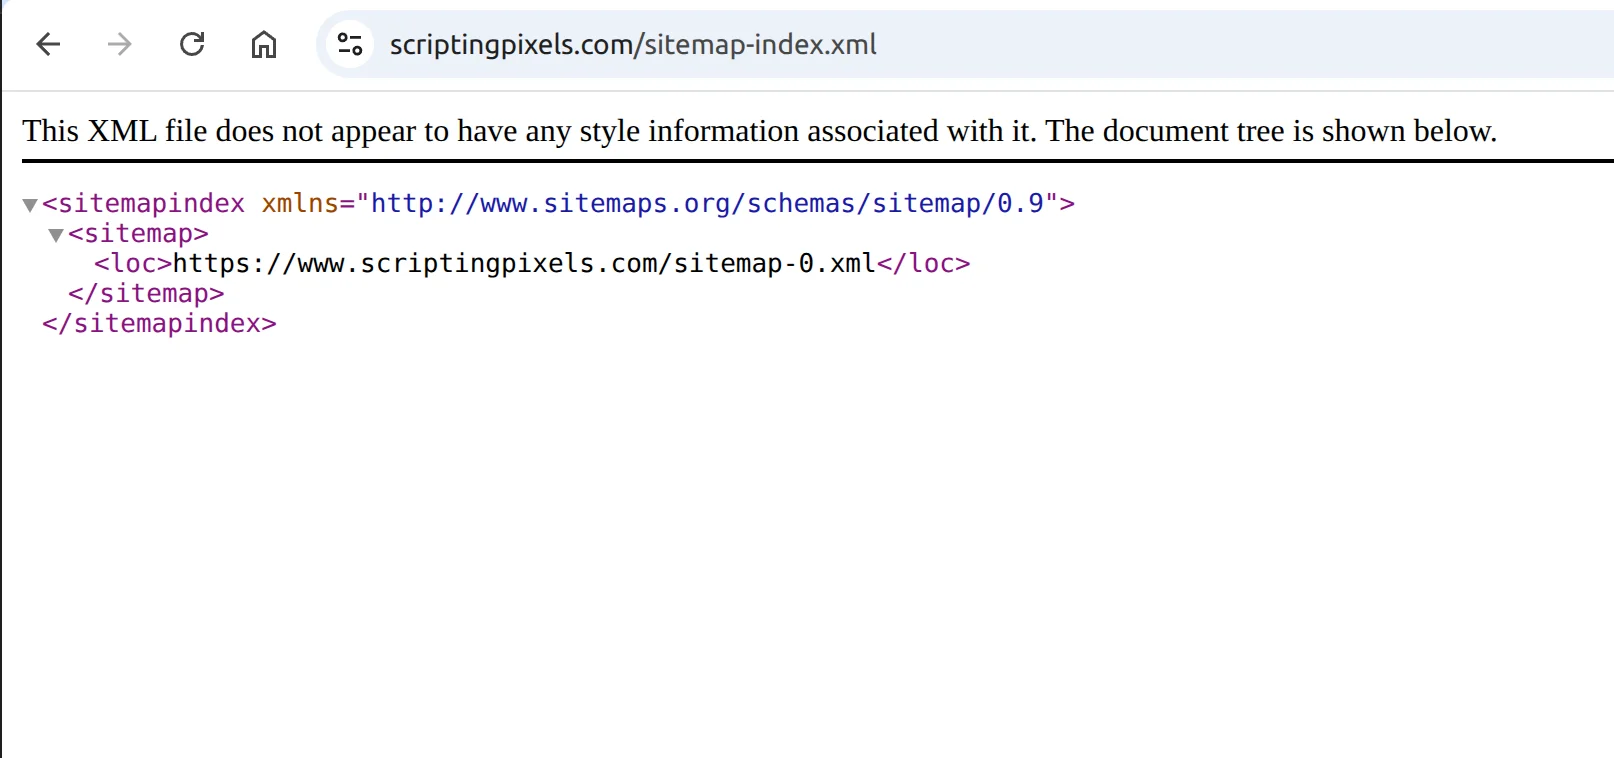
Before you submit a sitemap, you need to know if you have one. Visit:
yoursite.com/sitemap.xmlor
yoursite.com/sitemap-index.xmlIf you see an XML file with your pages listed, you’re good, skip to Step 4.
If you get a 404, here’s how to generate one depending on your platform:
Astro
Run npx astro add sitemap and make sure your site URL is set in astro.config.mjs. Astro handles the rest automatically on every build.
Webflow
Generates a sitemap automatically. No setup needed, it’s already at yoursite.com/sitemap.xml.
Framer
Same as Webflow, generated automatically. Find it at yoursite.com/sitemap.xml.
WordPress Install Yoast SEO or Rank Math. Both generate a sitemap instantly with no configuration.
Other platforms Most modern site builders generate sitemaps automatically. Check your platform’s SEO settings if you can’t find it.
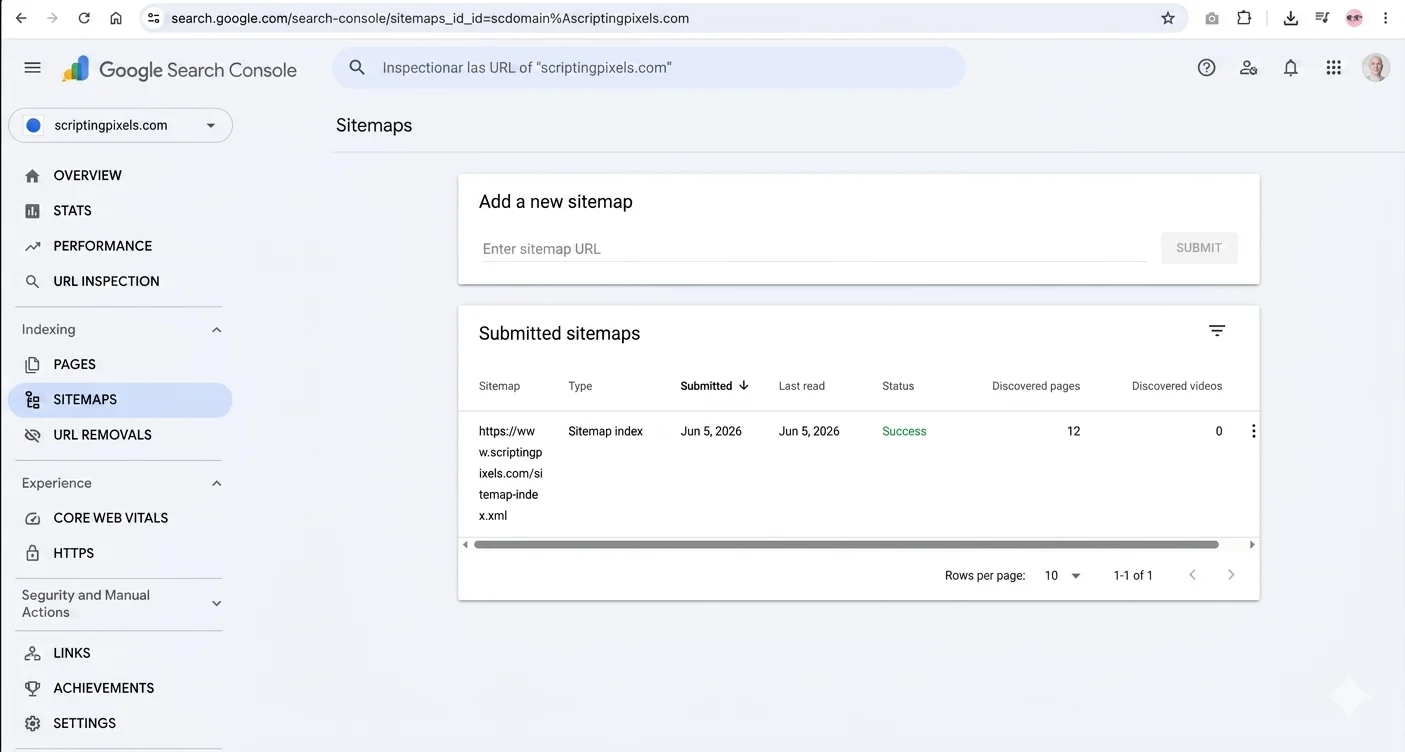
Step 4: Submit your sitemap to Google
Go back to Search Console. In the left sidebar click Sitemaps, paste your sitemap URL:
yoursite.com/sitemap-index.xmlHit Submit. Google will follow it to your pages automatically.
Step 5: Wait (this is the hard part)
First data takes 2-3 days to appear. A full picture takes a few weeks.
Don’t panic if it looks empty at first, that’s completely normal.
Once data starts coming in, here’s what to look at:
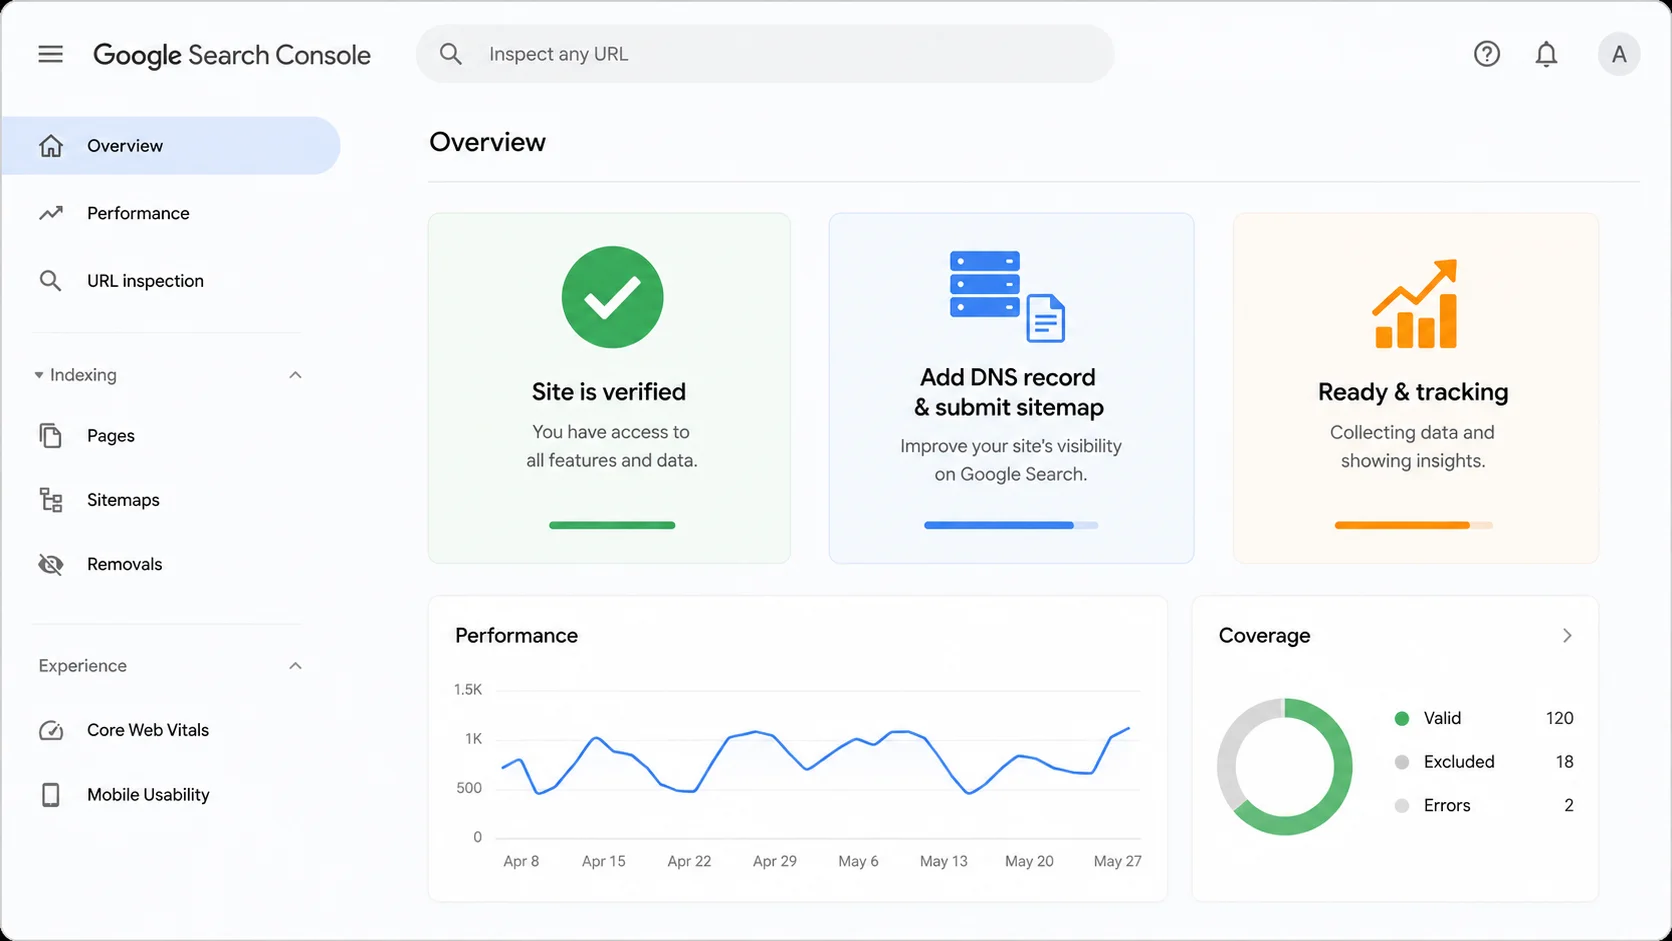
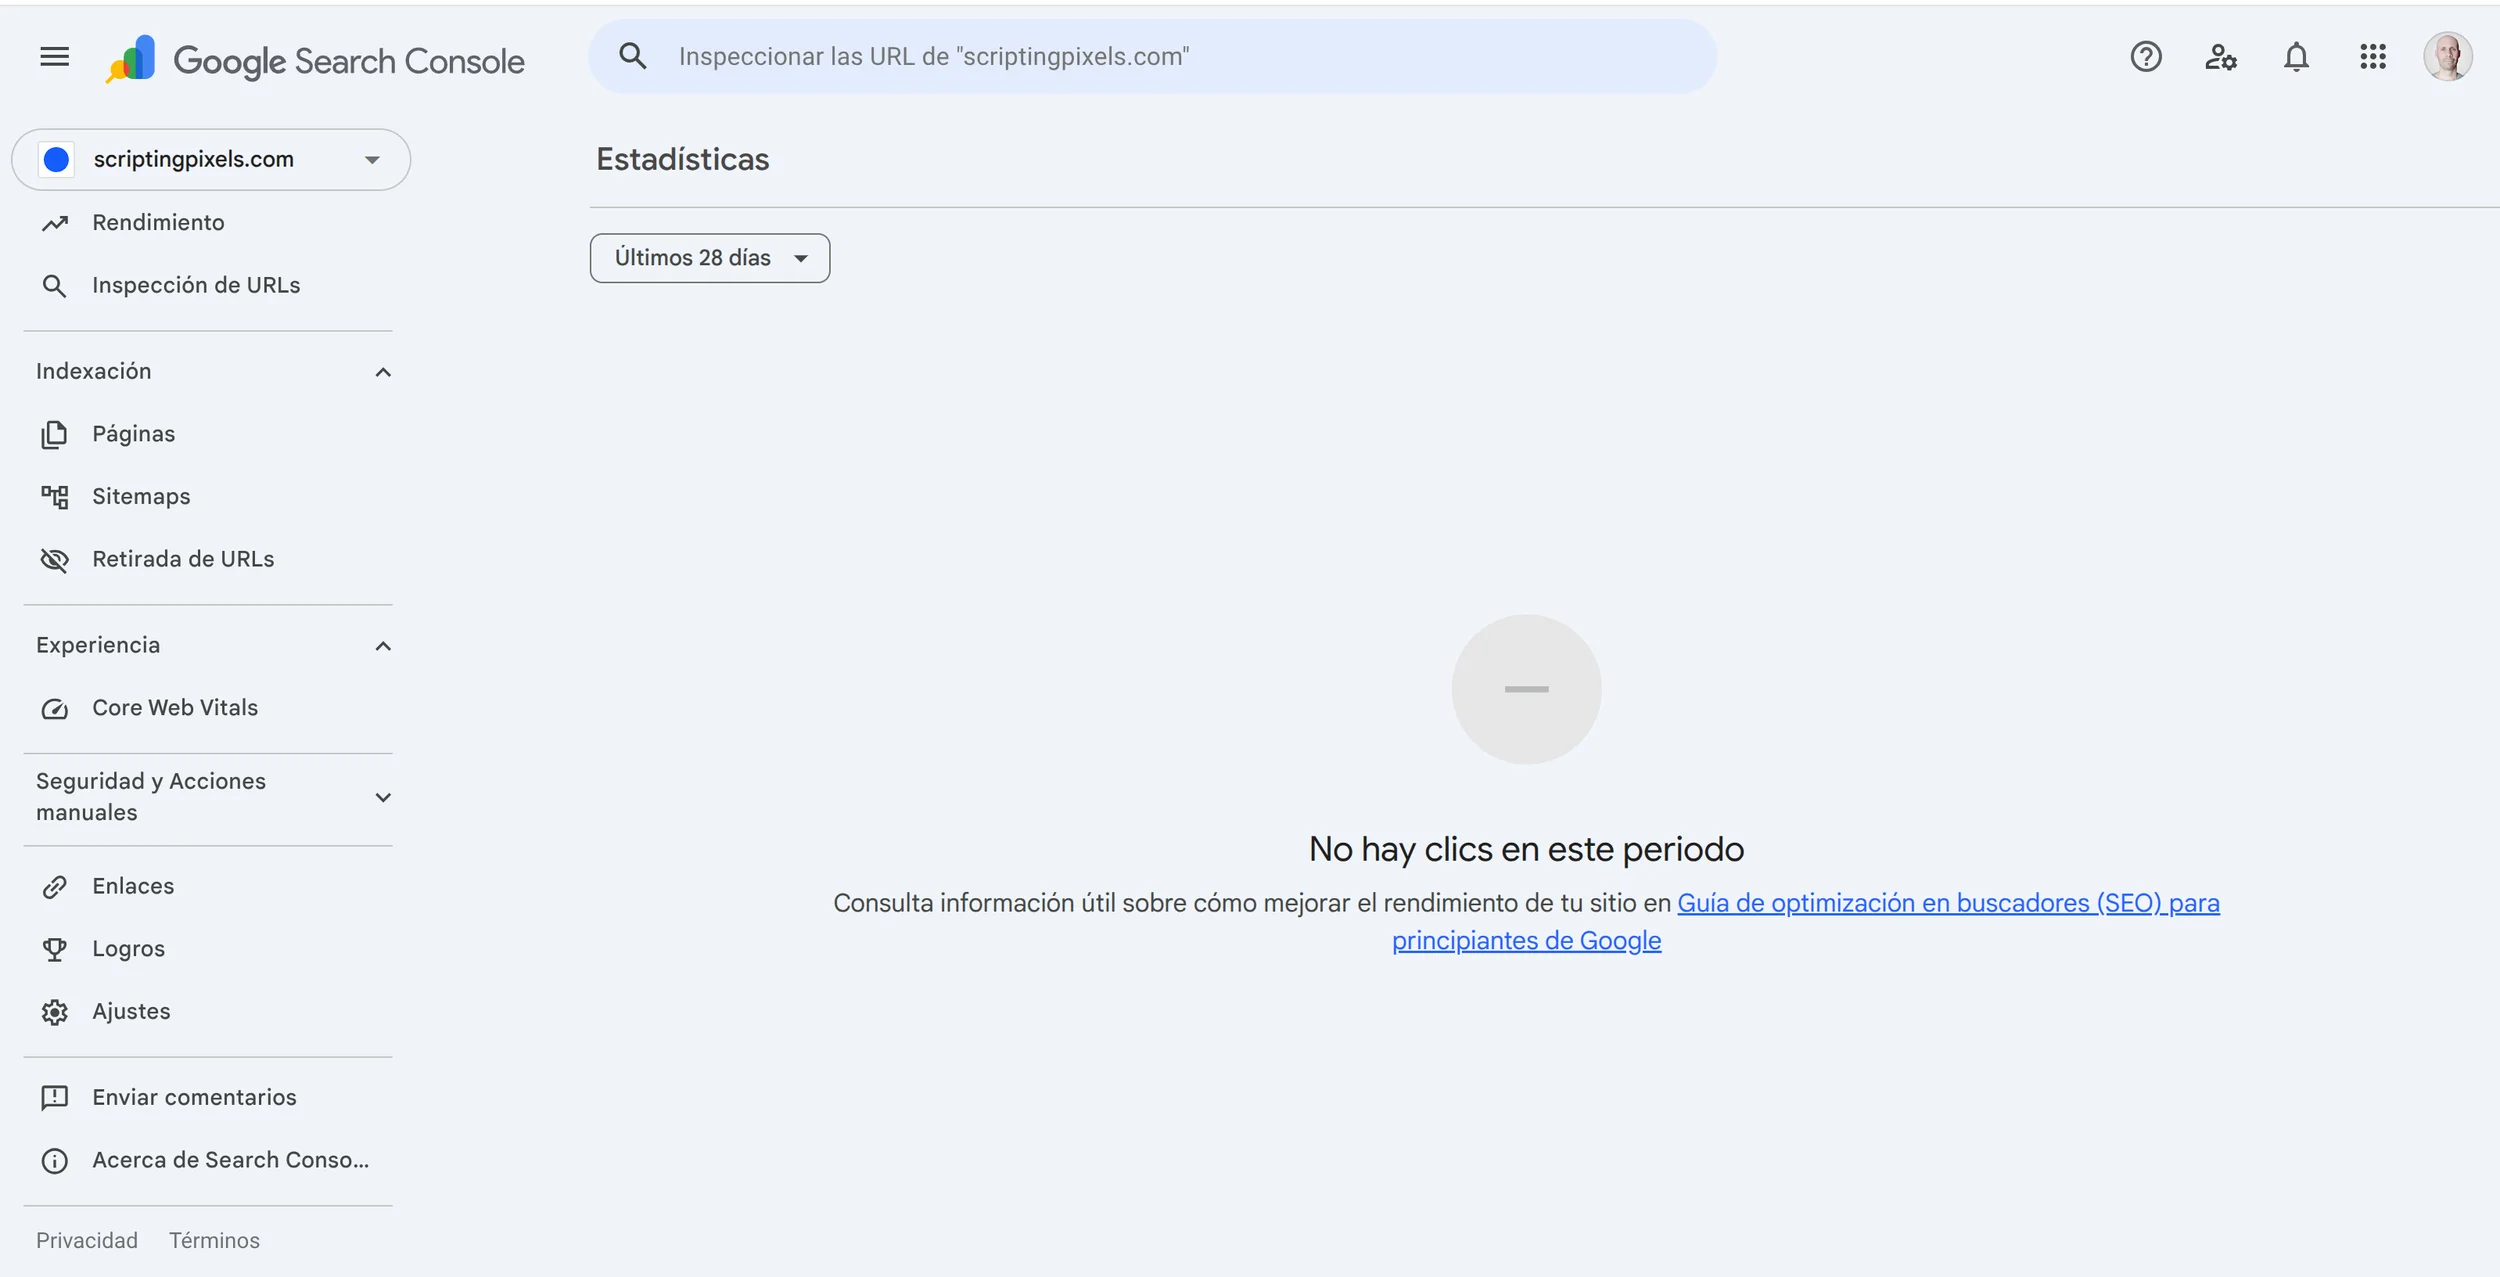
Performance :: your main dashboard. Total clicks, impressions, average position, and click-through rate. Click into individual pages to see which queries are driving traffic to each one.
Coverage :: shows which pages Google has indexed. If a page is missing here, Google can’t show it in search results. Worth checking after you publish new content.
The real gold is finding pages with high impressions but low clicks, those are ranking but not compelling enough to click. A better title or meta description can fix that.
That’s it
Ten minutes of setup, and now you have a direct line to how Google sees your site.
Most website owners skip this step and wonder why they’re not getting traffic. Now you’re not one of them.